Getting Started with Paranormal: Purple Amoeba

This tutorial will walk you through the process of creating a normal map in Paranormal! Simple normal maps, like the one I’ll be showing you today, can can quickly enhance your games and make them more eye catching. I'll also introduce you to the Chamfer Operation, the Smooth Tool, and the Texture Operation.

Download our Files to Follow Along

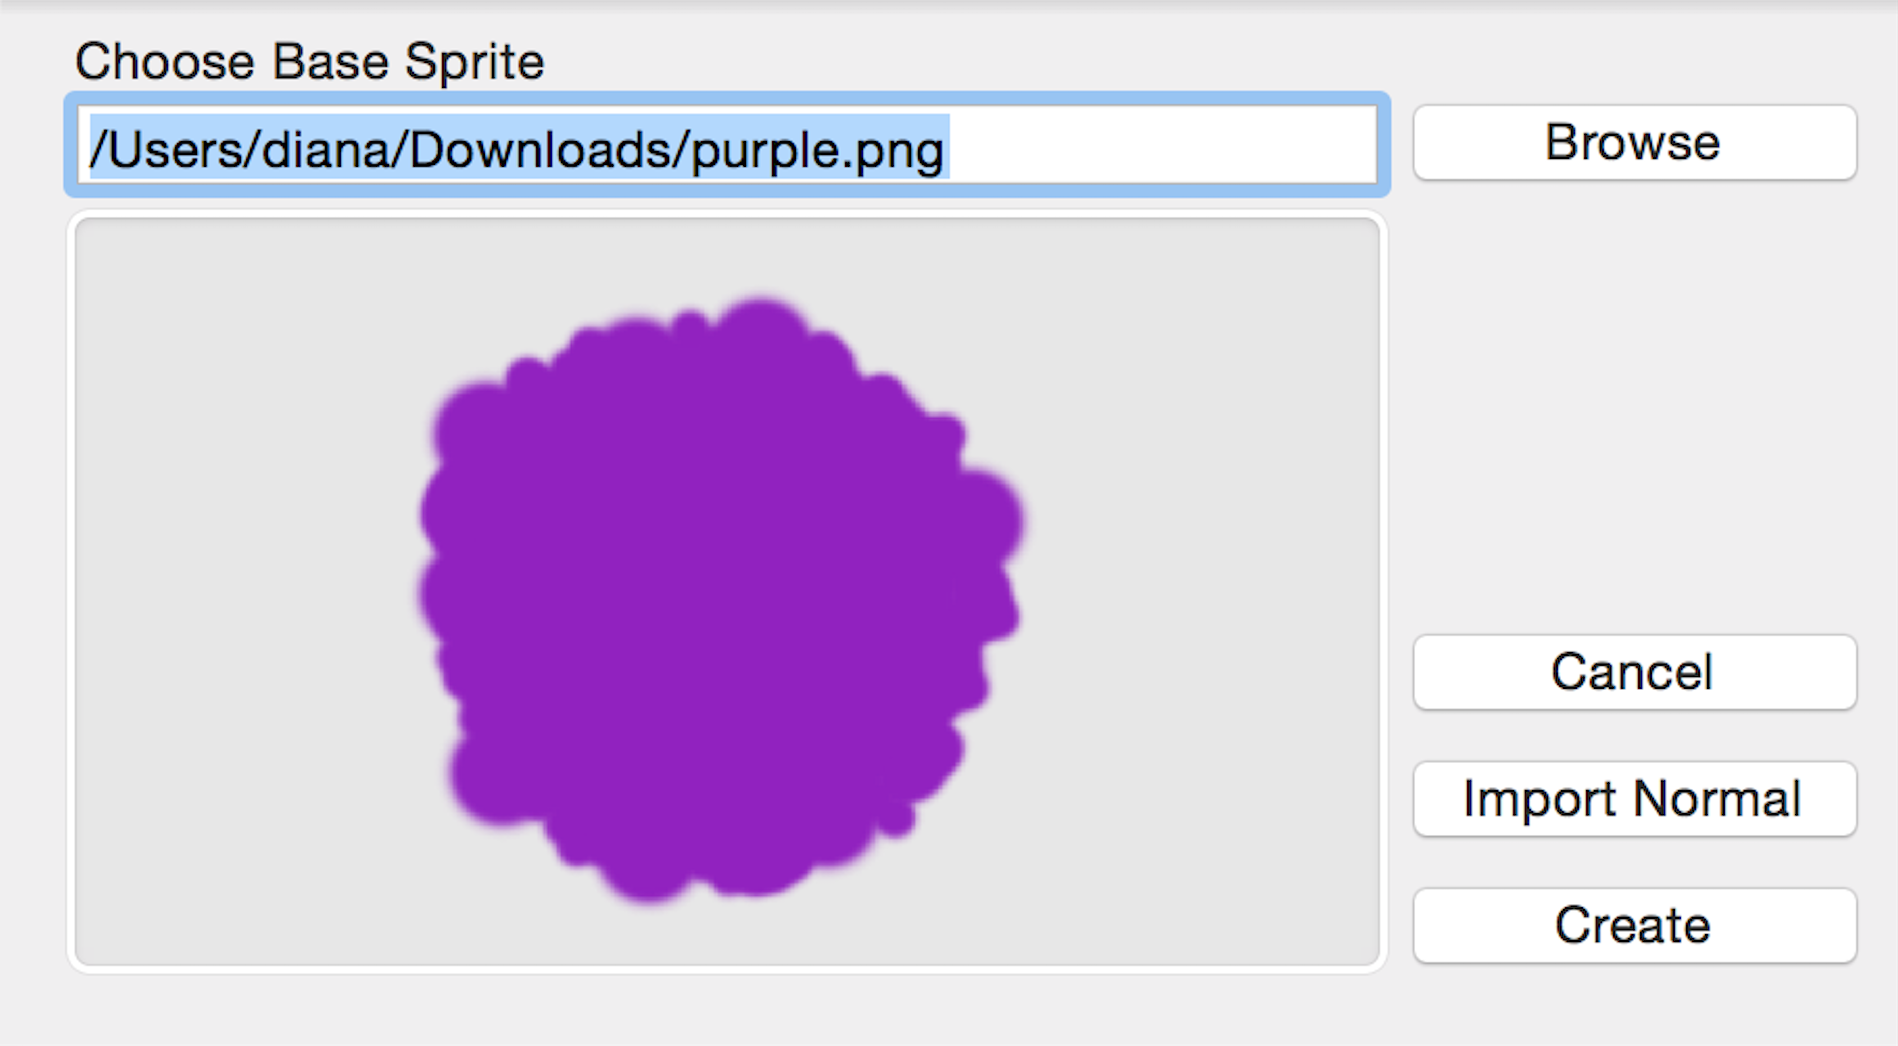
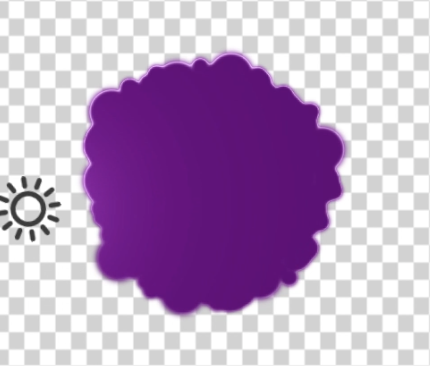
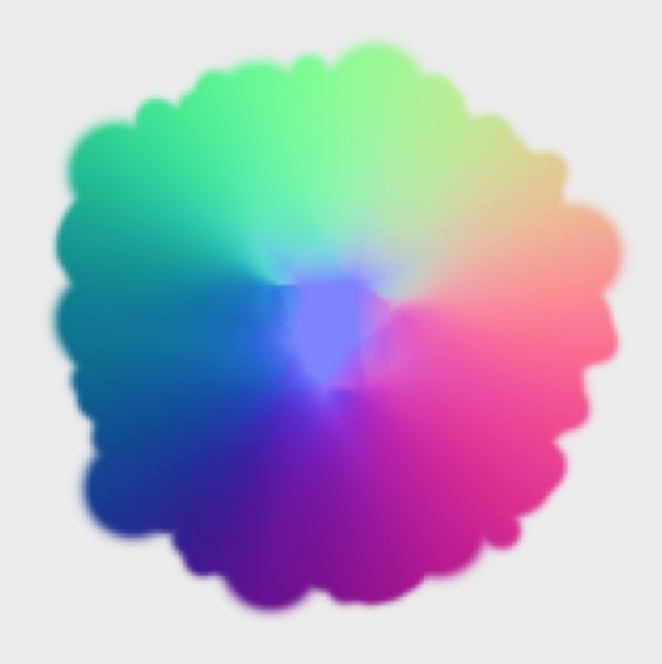
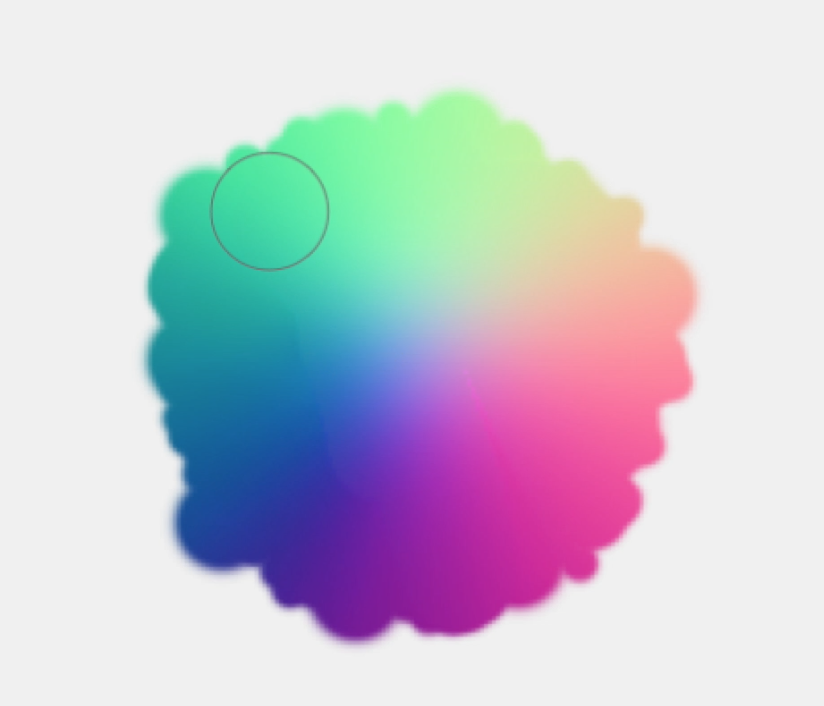
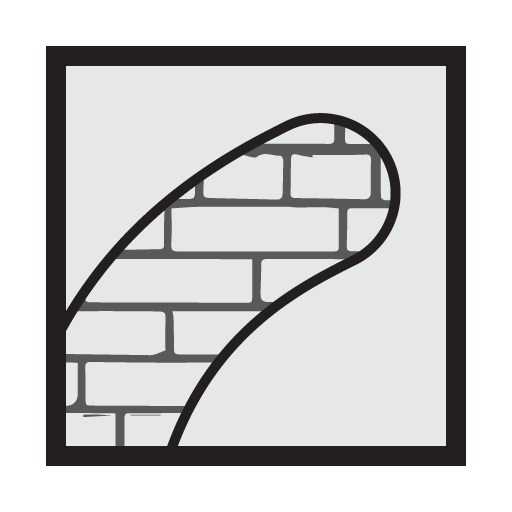
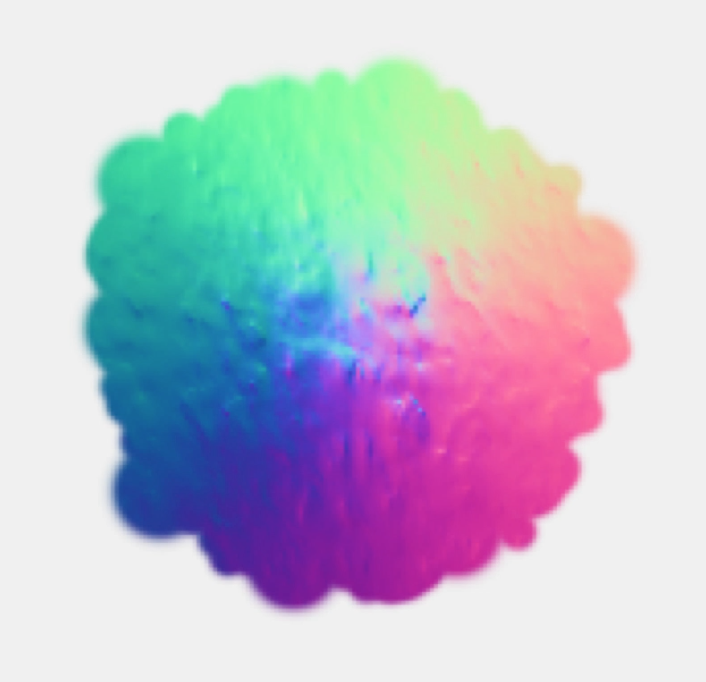
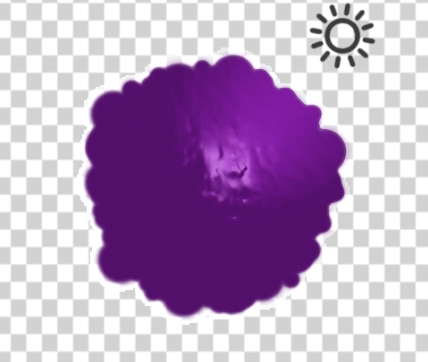
If you’d like to follow along with my images, I’ll be making a normal map for a purple amoeba, similar to the ones in Transcripted.
Base Sprite: I created this flat image in Photoshop with a single color.
Texture: Normal map textures are freely available online. I used Googled “Bumpy Normal Map” to find this one.
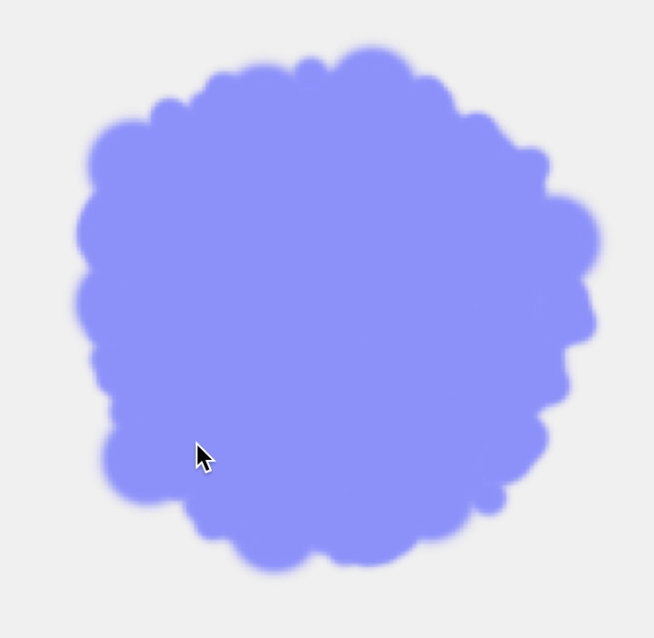
Step 1: Create a new project

  • Download the files above or have a sprite and texture saved on your computer.
  • Open Paranormal and create a new document with File > New, or by pressing ⌘N
  • Browse to the image of the base sprite and select it (in our case, purple.png). Then, click “Create.”
  • You’ll see a base normal map in the editor view and a preview of your amoeba in the upper right-hand corner. Because you haven’t made any edits yet, the preview will look flat.

Step 2: Use the Chamfer tool to create a 3D shape.

  • Select the Chamfer Operation from the Tools menu.
  • In the dialogue, you are able to control the radius, depth, and convexity of your chamfer edit. Because I want the amoeba to be basically spherical, I’m going to set the radius and depth to be about 50%, and the concavity to be 100%.
  • When you are satisfied with your settings, click “Confirm.” This will create a 3D surface to start giving the amoeba some shape.

Step 3: Smooth out shape to be round.

  • Select the Smooth Tool from the Tools menu.
  • Smooth out the entire sprite to make it look less angular.
  • You will see in the preview that the amoeba looks basically round.

Step 4: Add a texture to make the amoeba bumpy

  • Click the Texture Operation at the bottom of the Tools menu.
  • Browse to find your texture
  • Select the texture and click "Open" to apply it.

Step 5: Export your normal map

  • Click File > Export at the top of the screen or use the shortcut ⇧⌘E.
  • Give it whatever name you want and save.