Generating Detailed Normal Maps

In this tutorial, I walk you through the process of creating a normal map for a spaceship sprite. You will learn how to create a detailed normal map from scratch. I'll also introduce you to the Chamfer Operation, Flatten Tool, Plane Tool, and Smooth Tool.

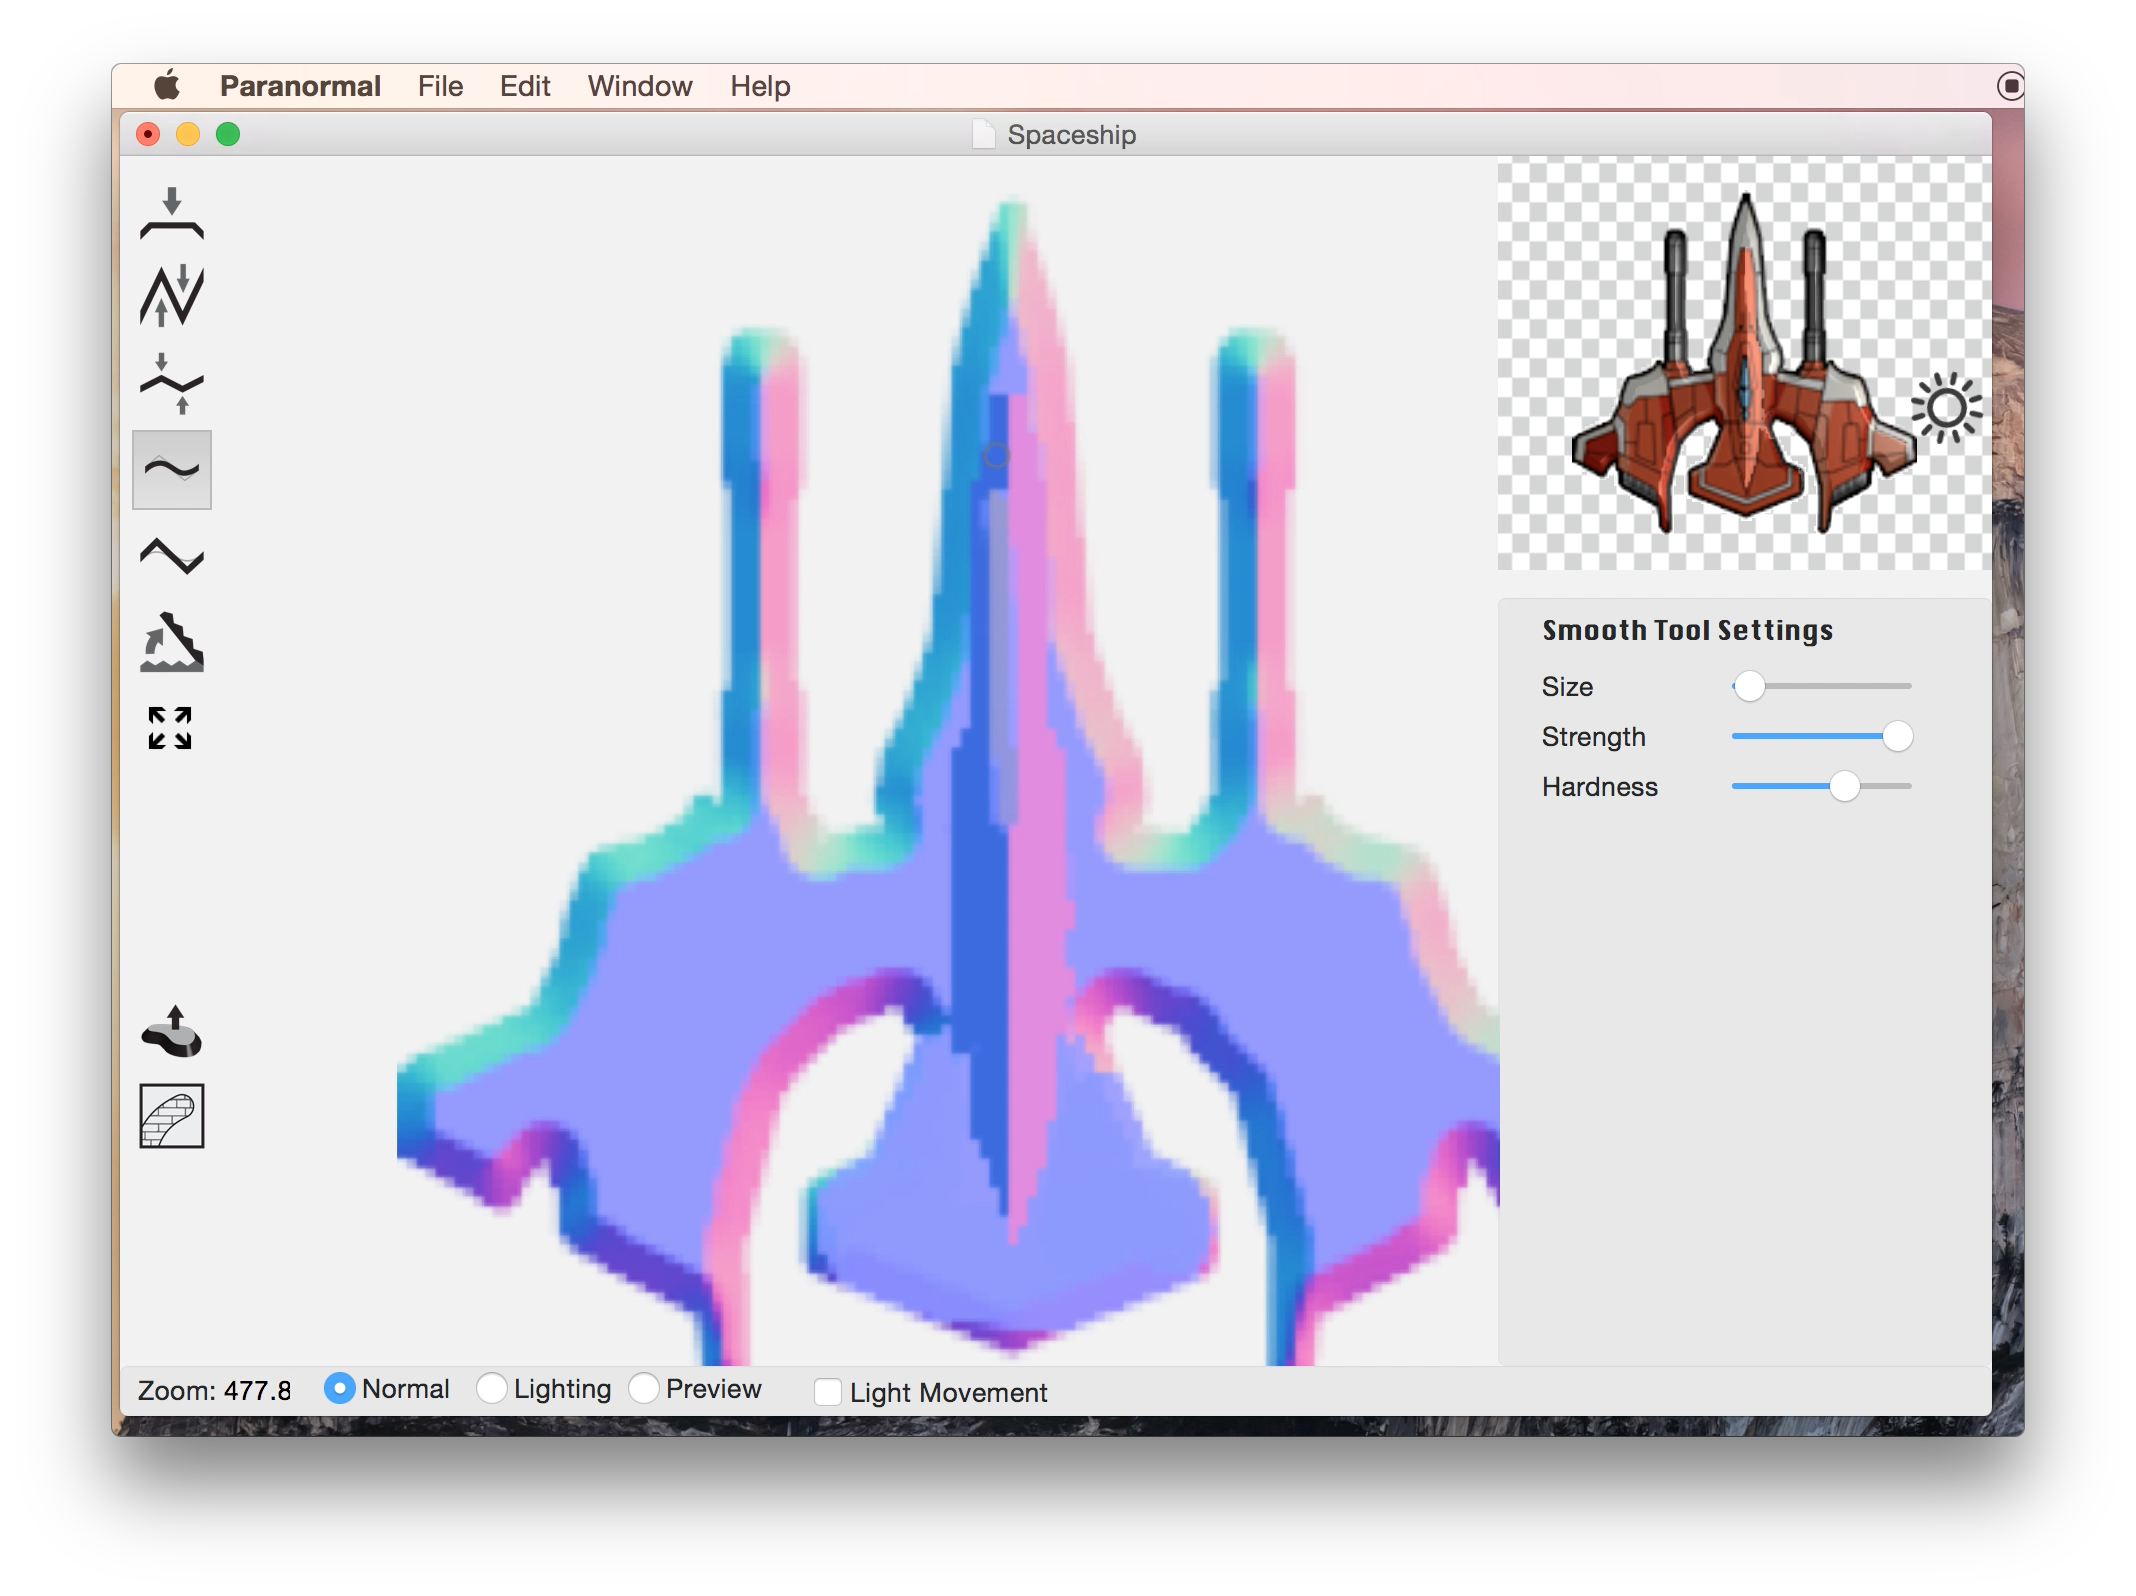
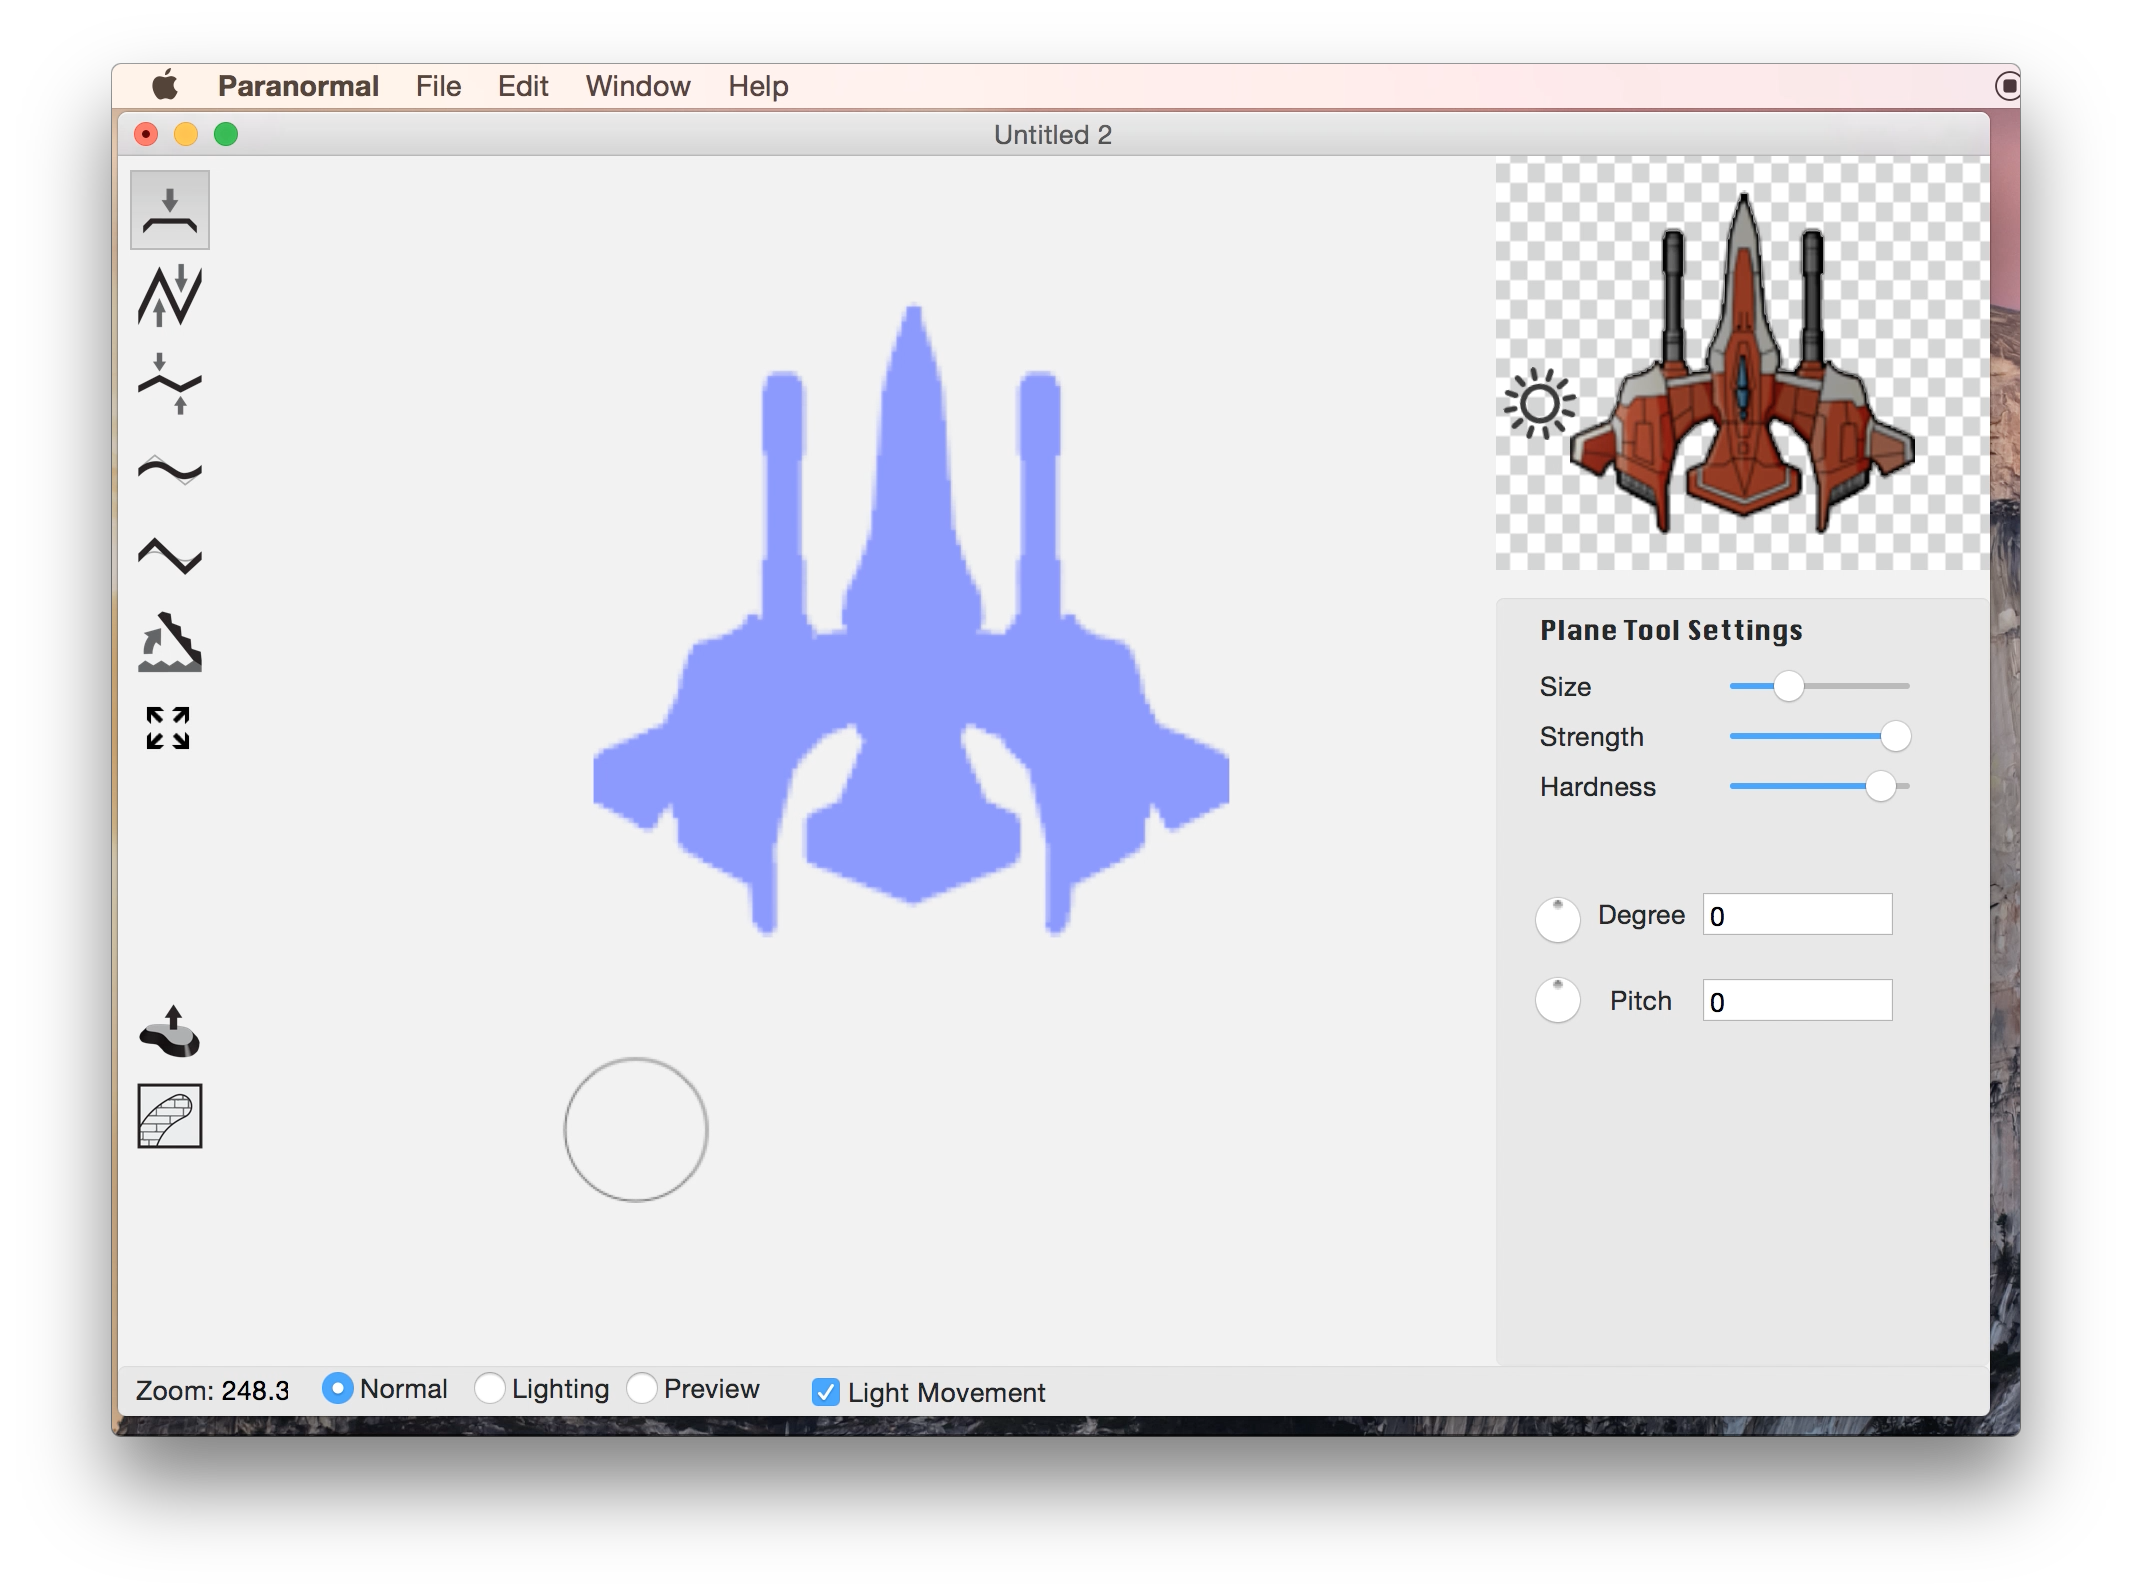
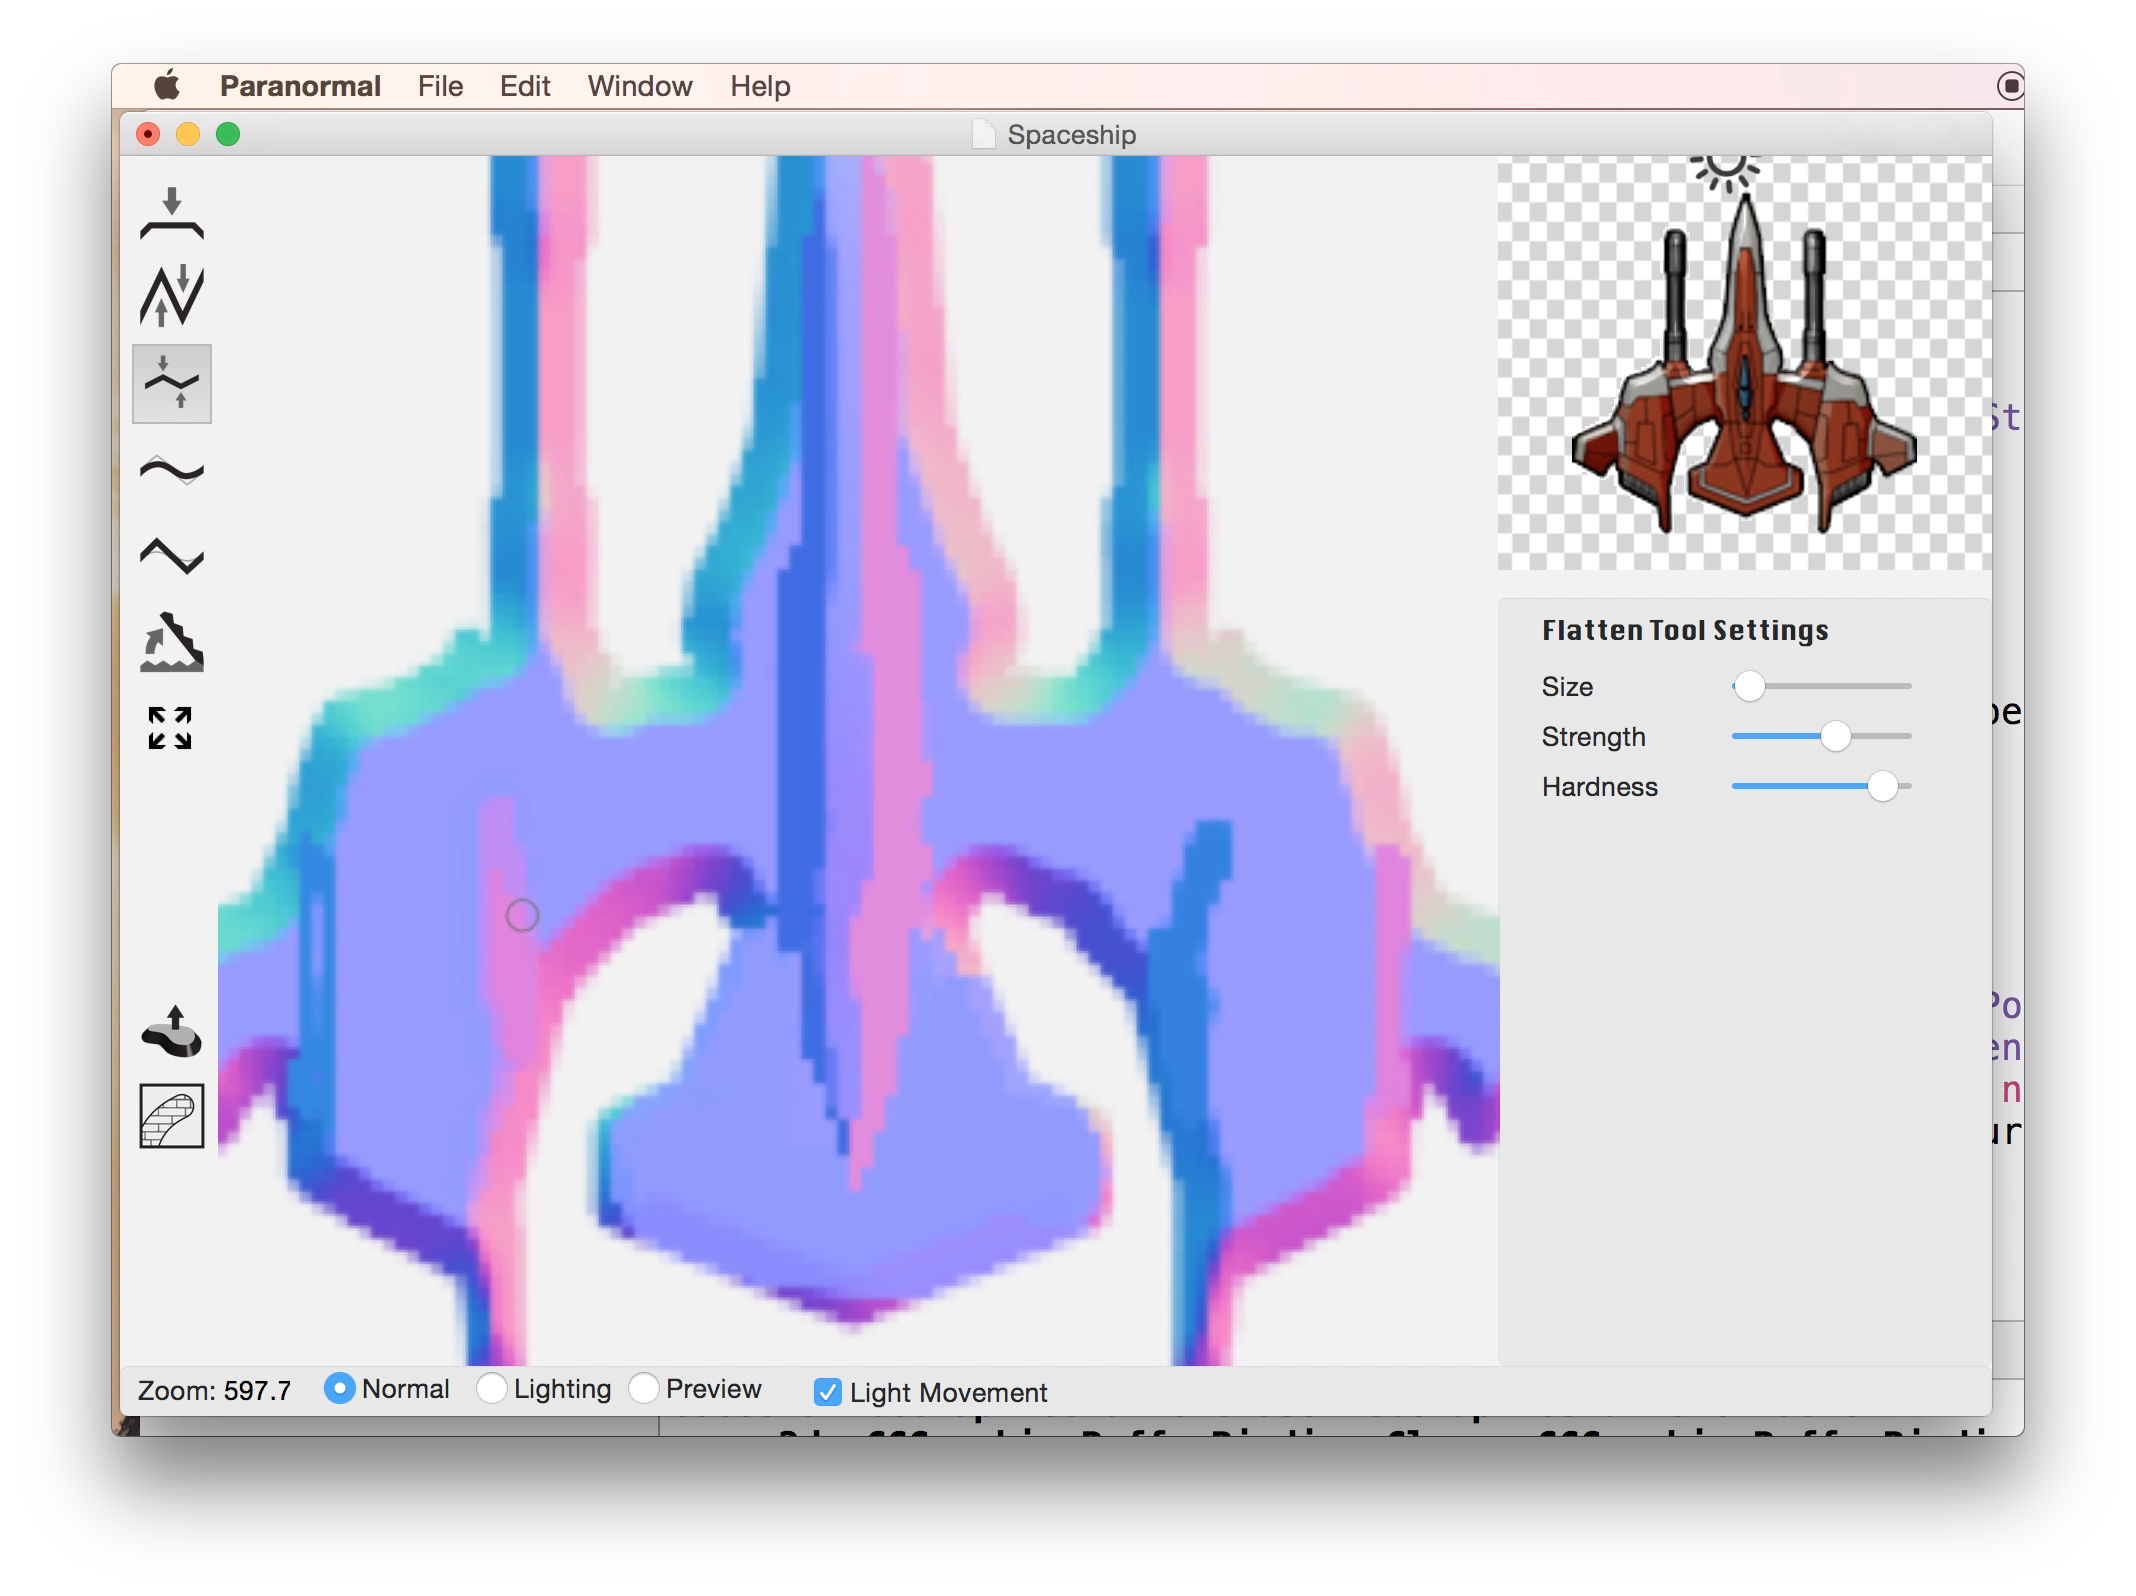
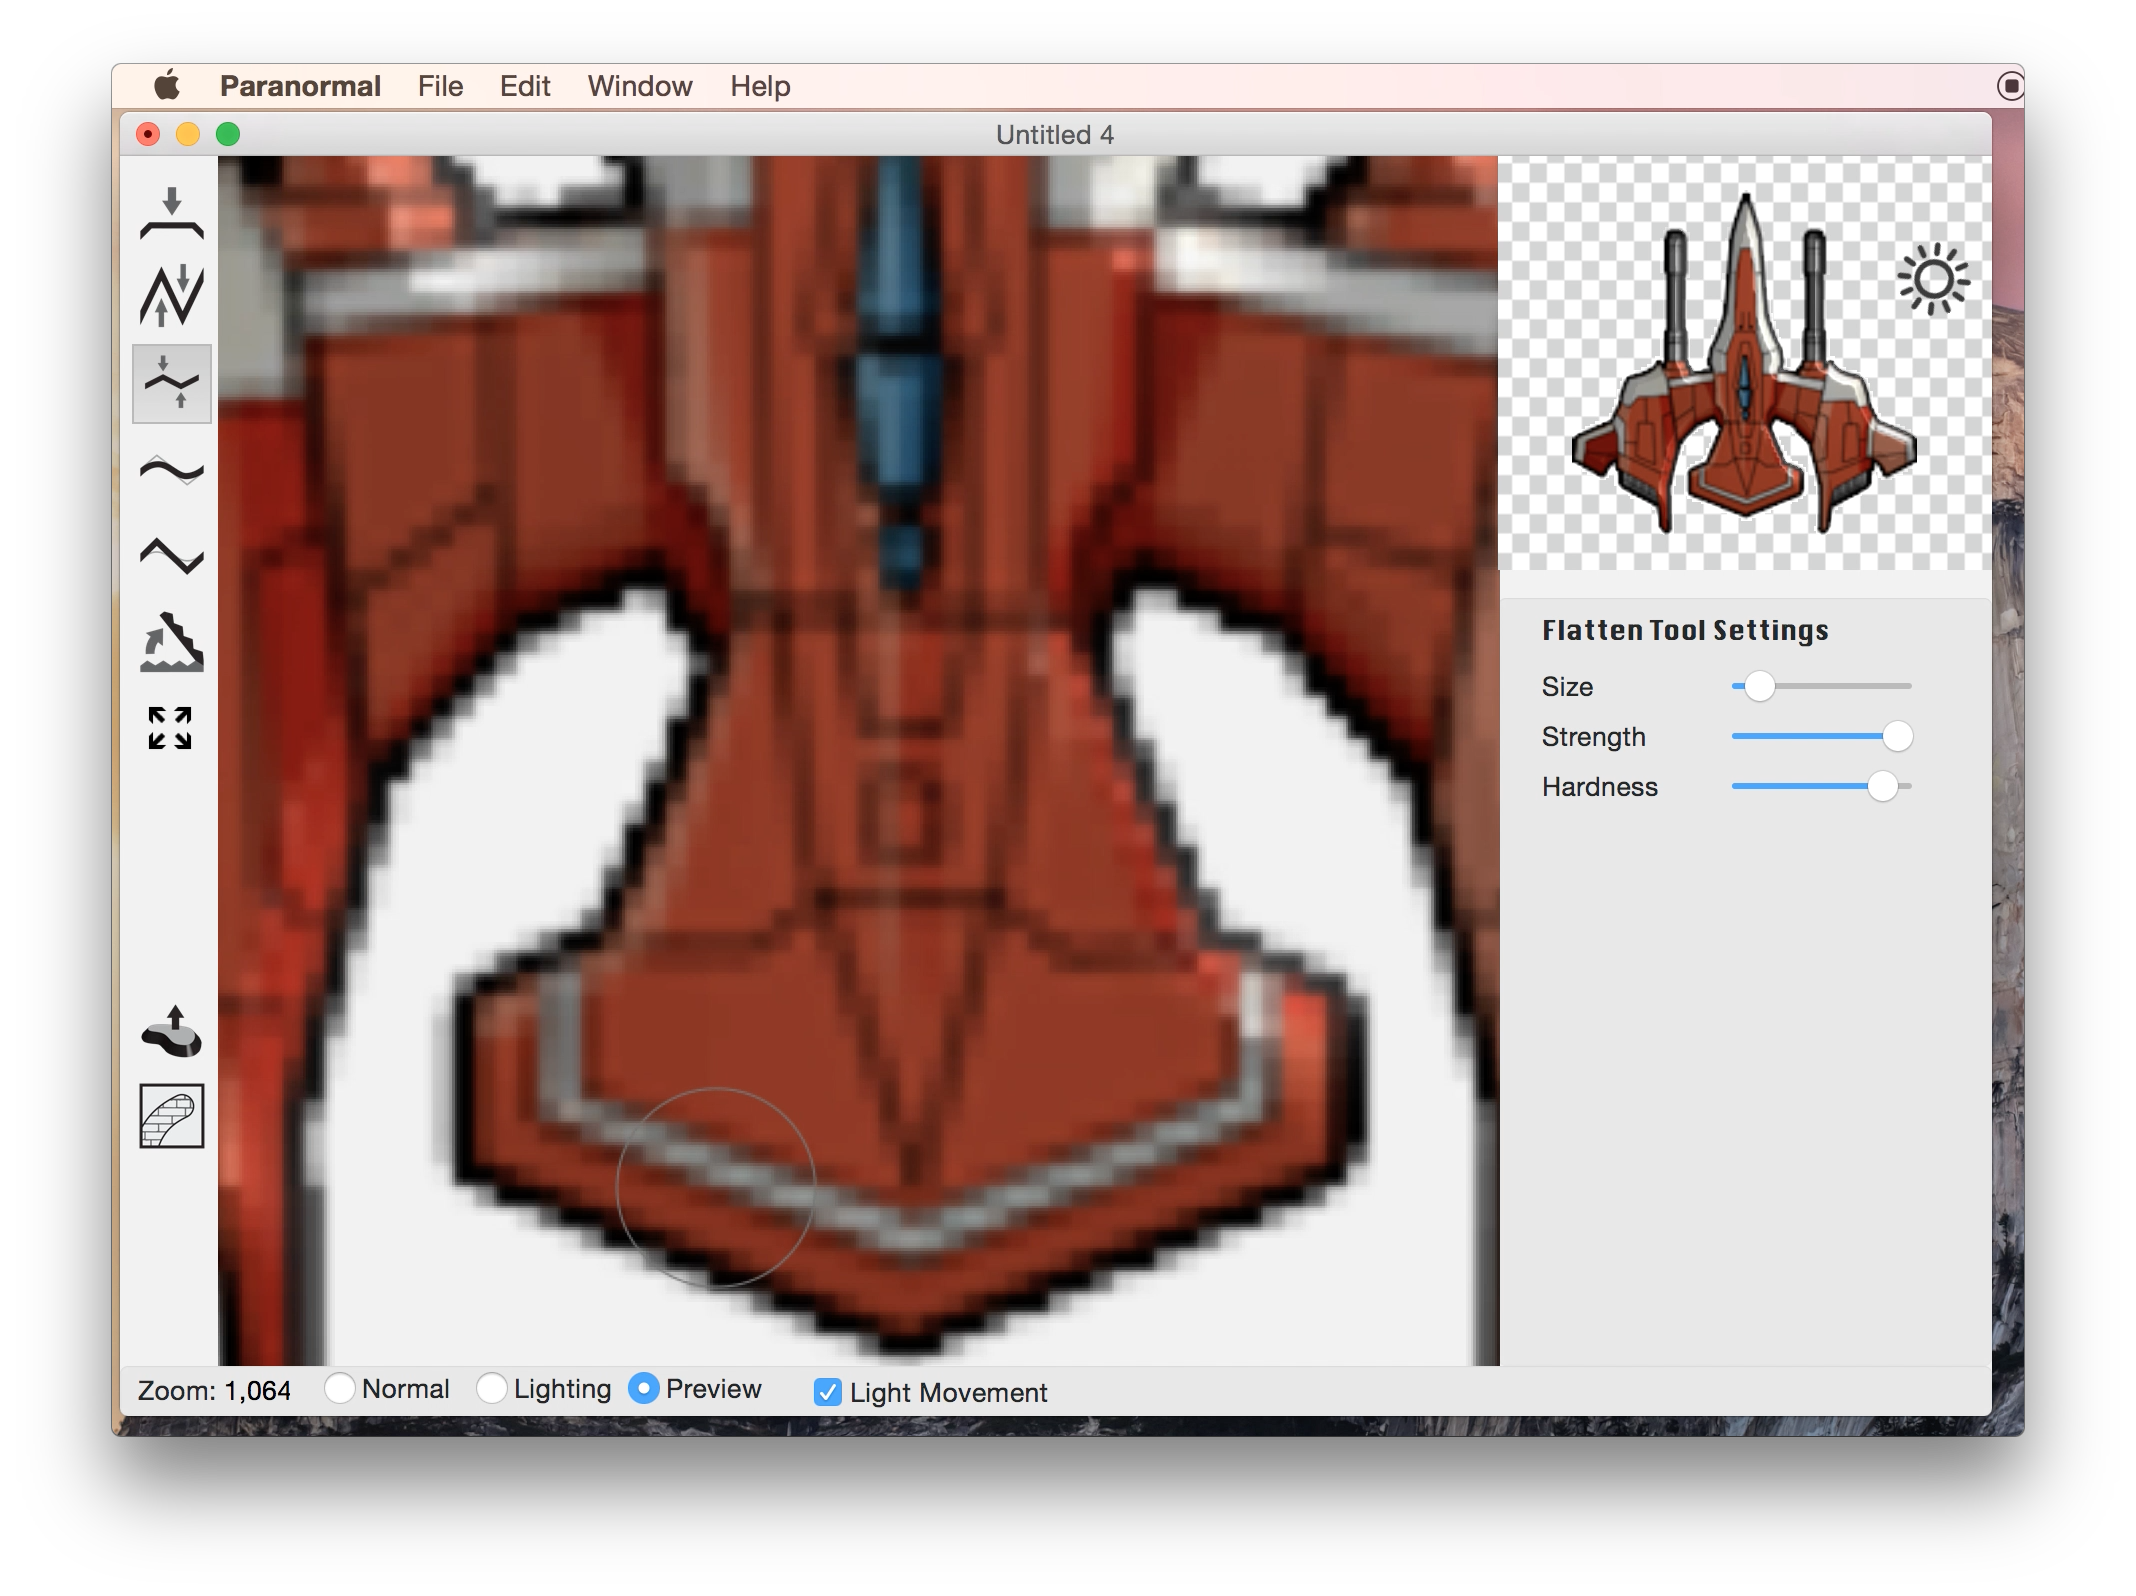
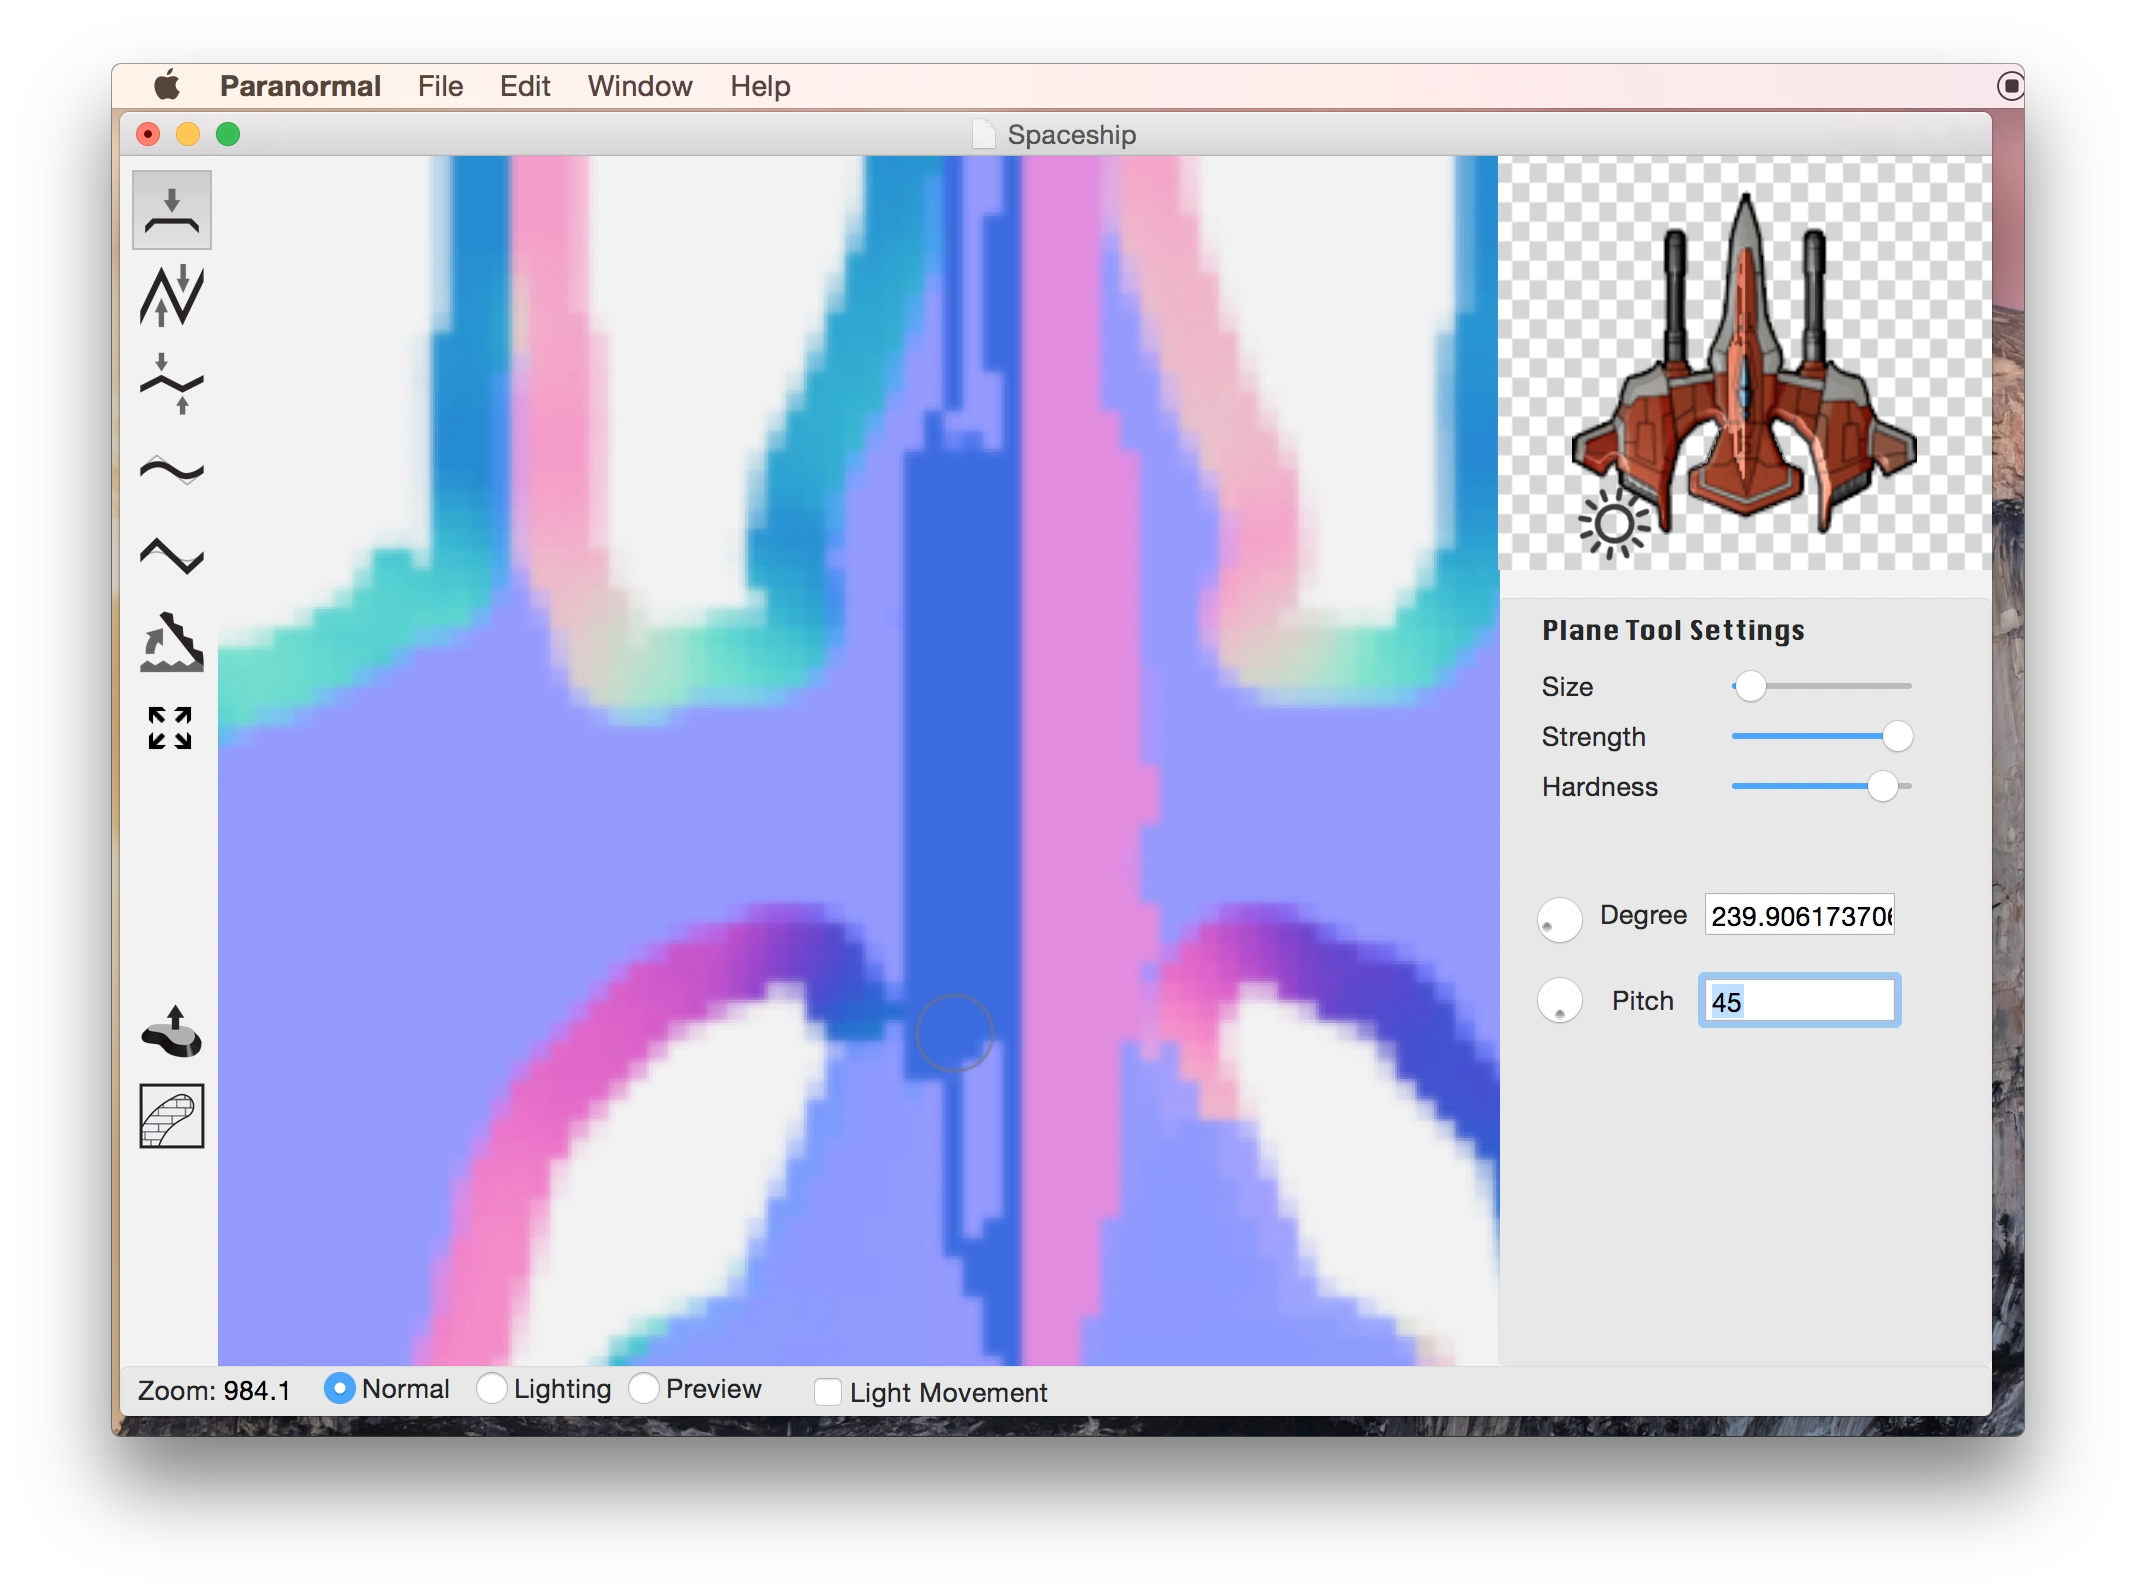
Creating a normal map for a main character sprite like this spaceship gives it the eye-catching attention your hero deserves. With Paranormals suite of tools, you can generate a normal map and edit it with the percision you need.

Download our Files to Follow Along

To follow along with this tutorial, download the Spaceship Sprite

Here's the Final Normal Map if you'd like to download it!


Spaceship Sprite
Final Normal Map

Step 1: Create a New Project

  • Once you have downloaded the sprite, open Paranormal
  • Start by creating a new document with File > New, or by pressing ⌘N.
  • Select the colored sprite as the base image (in our case, spaceship_sprite.png). This creates a blank normal map.

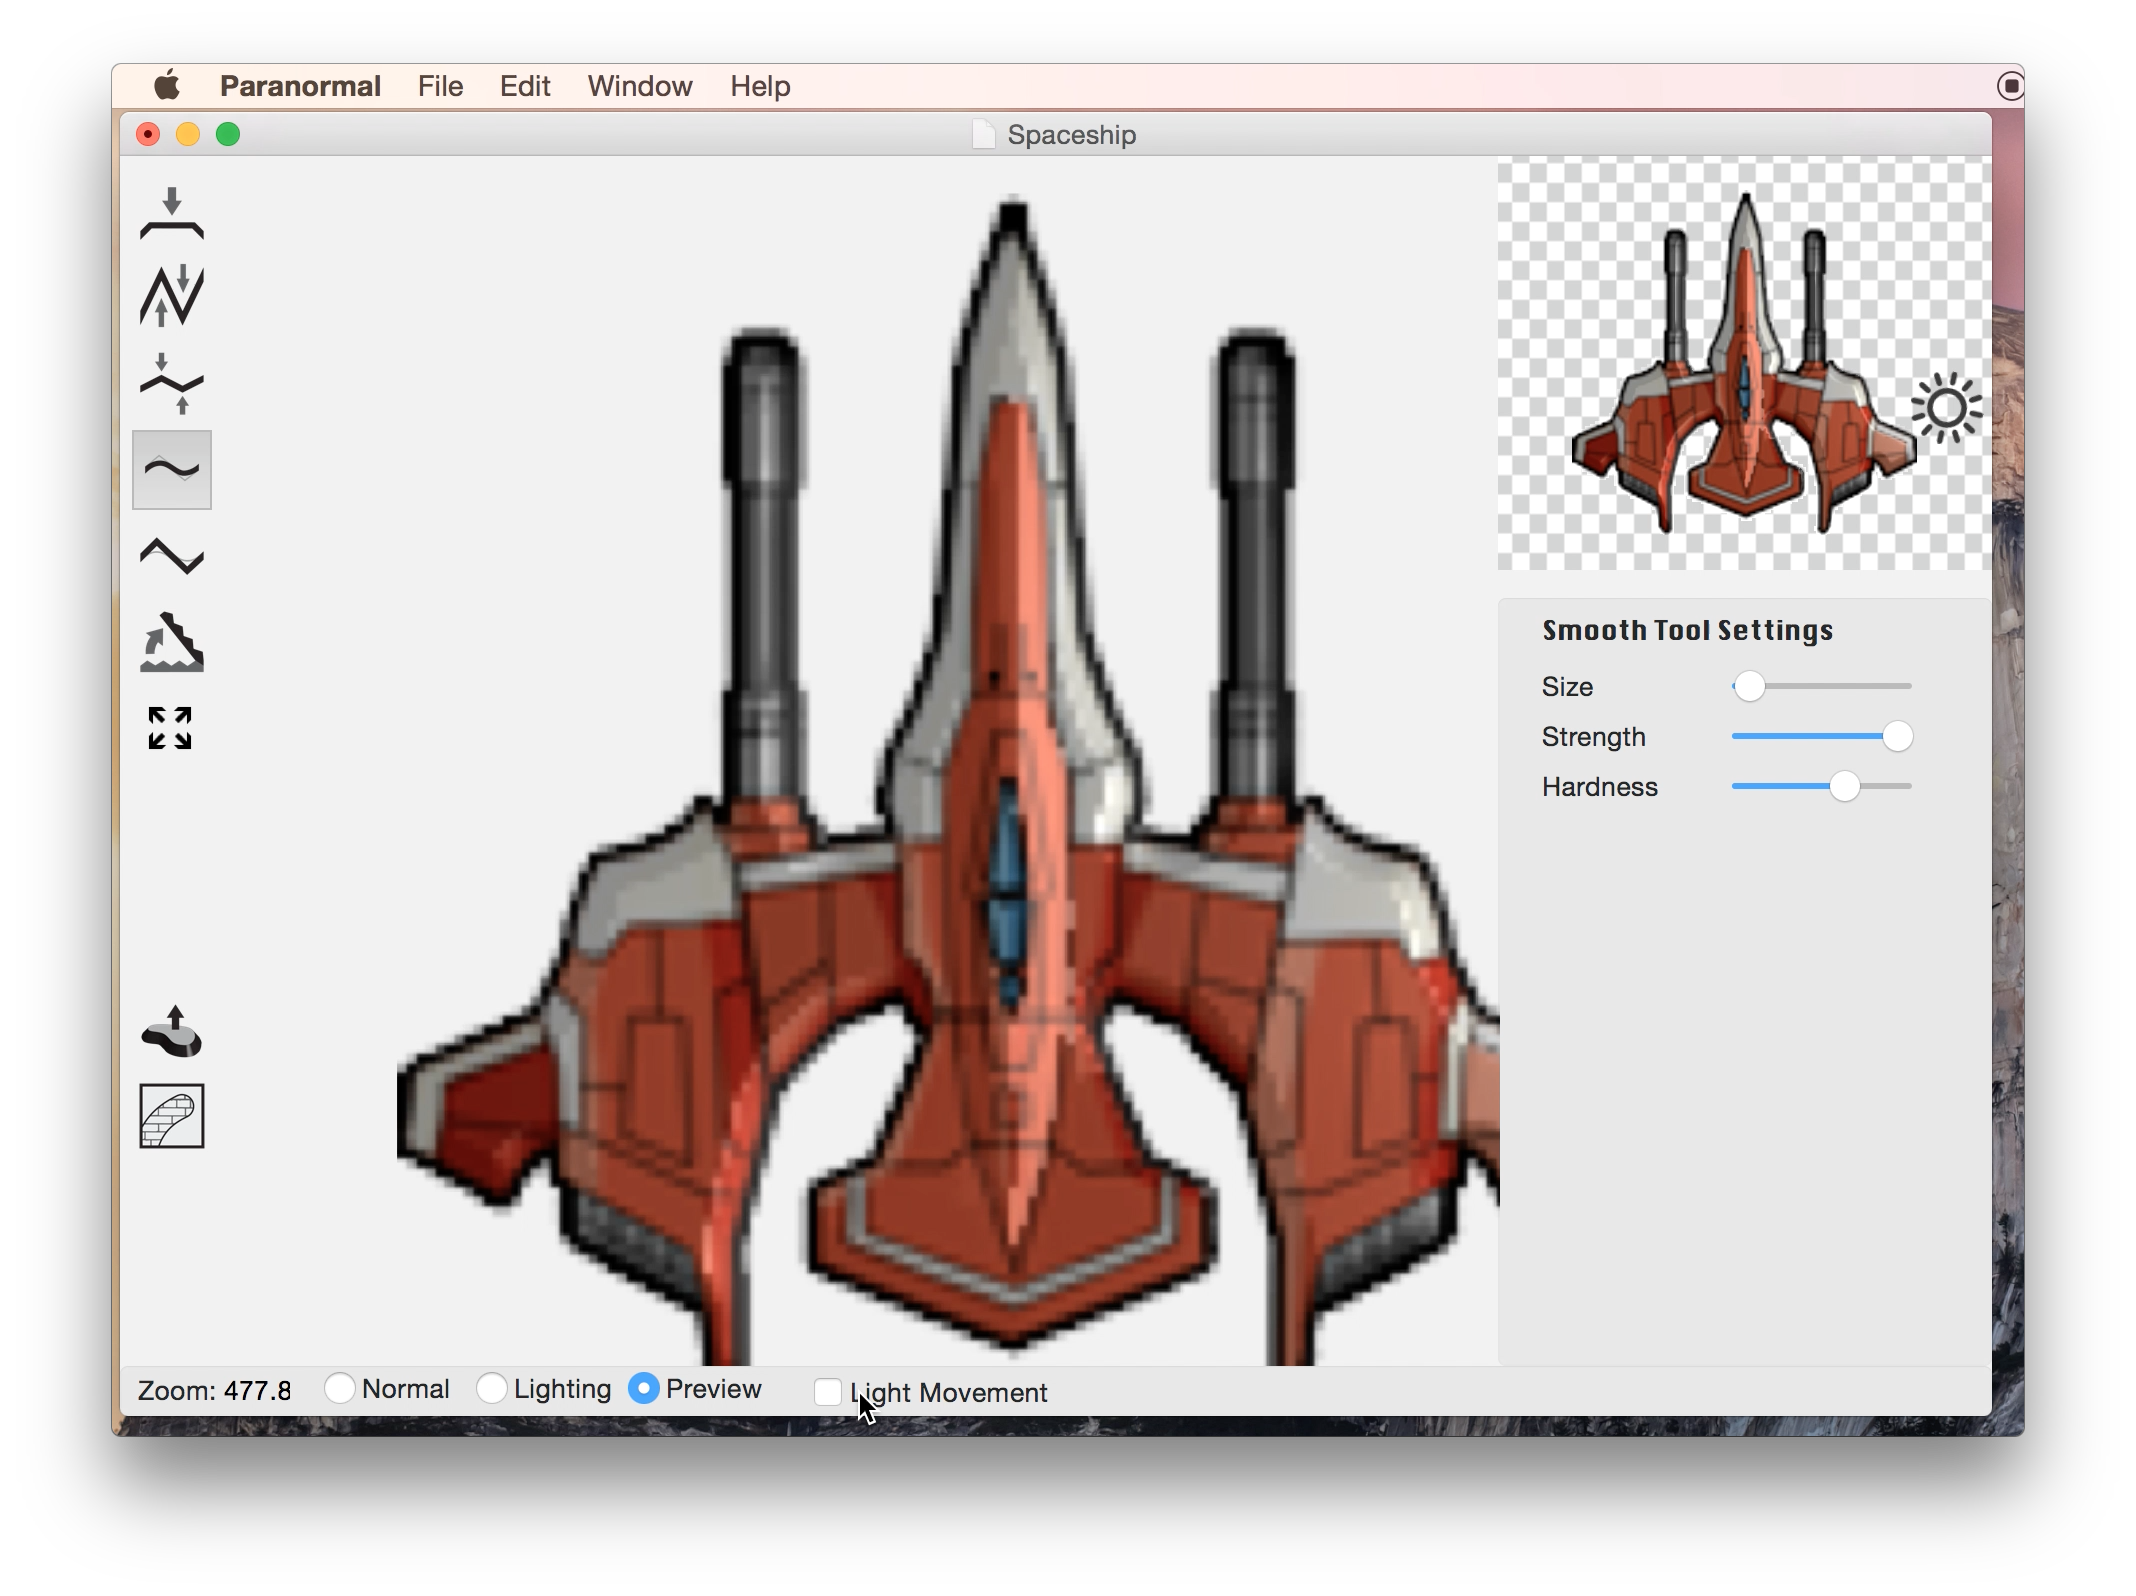
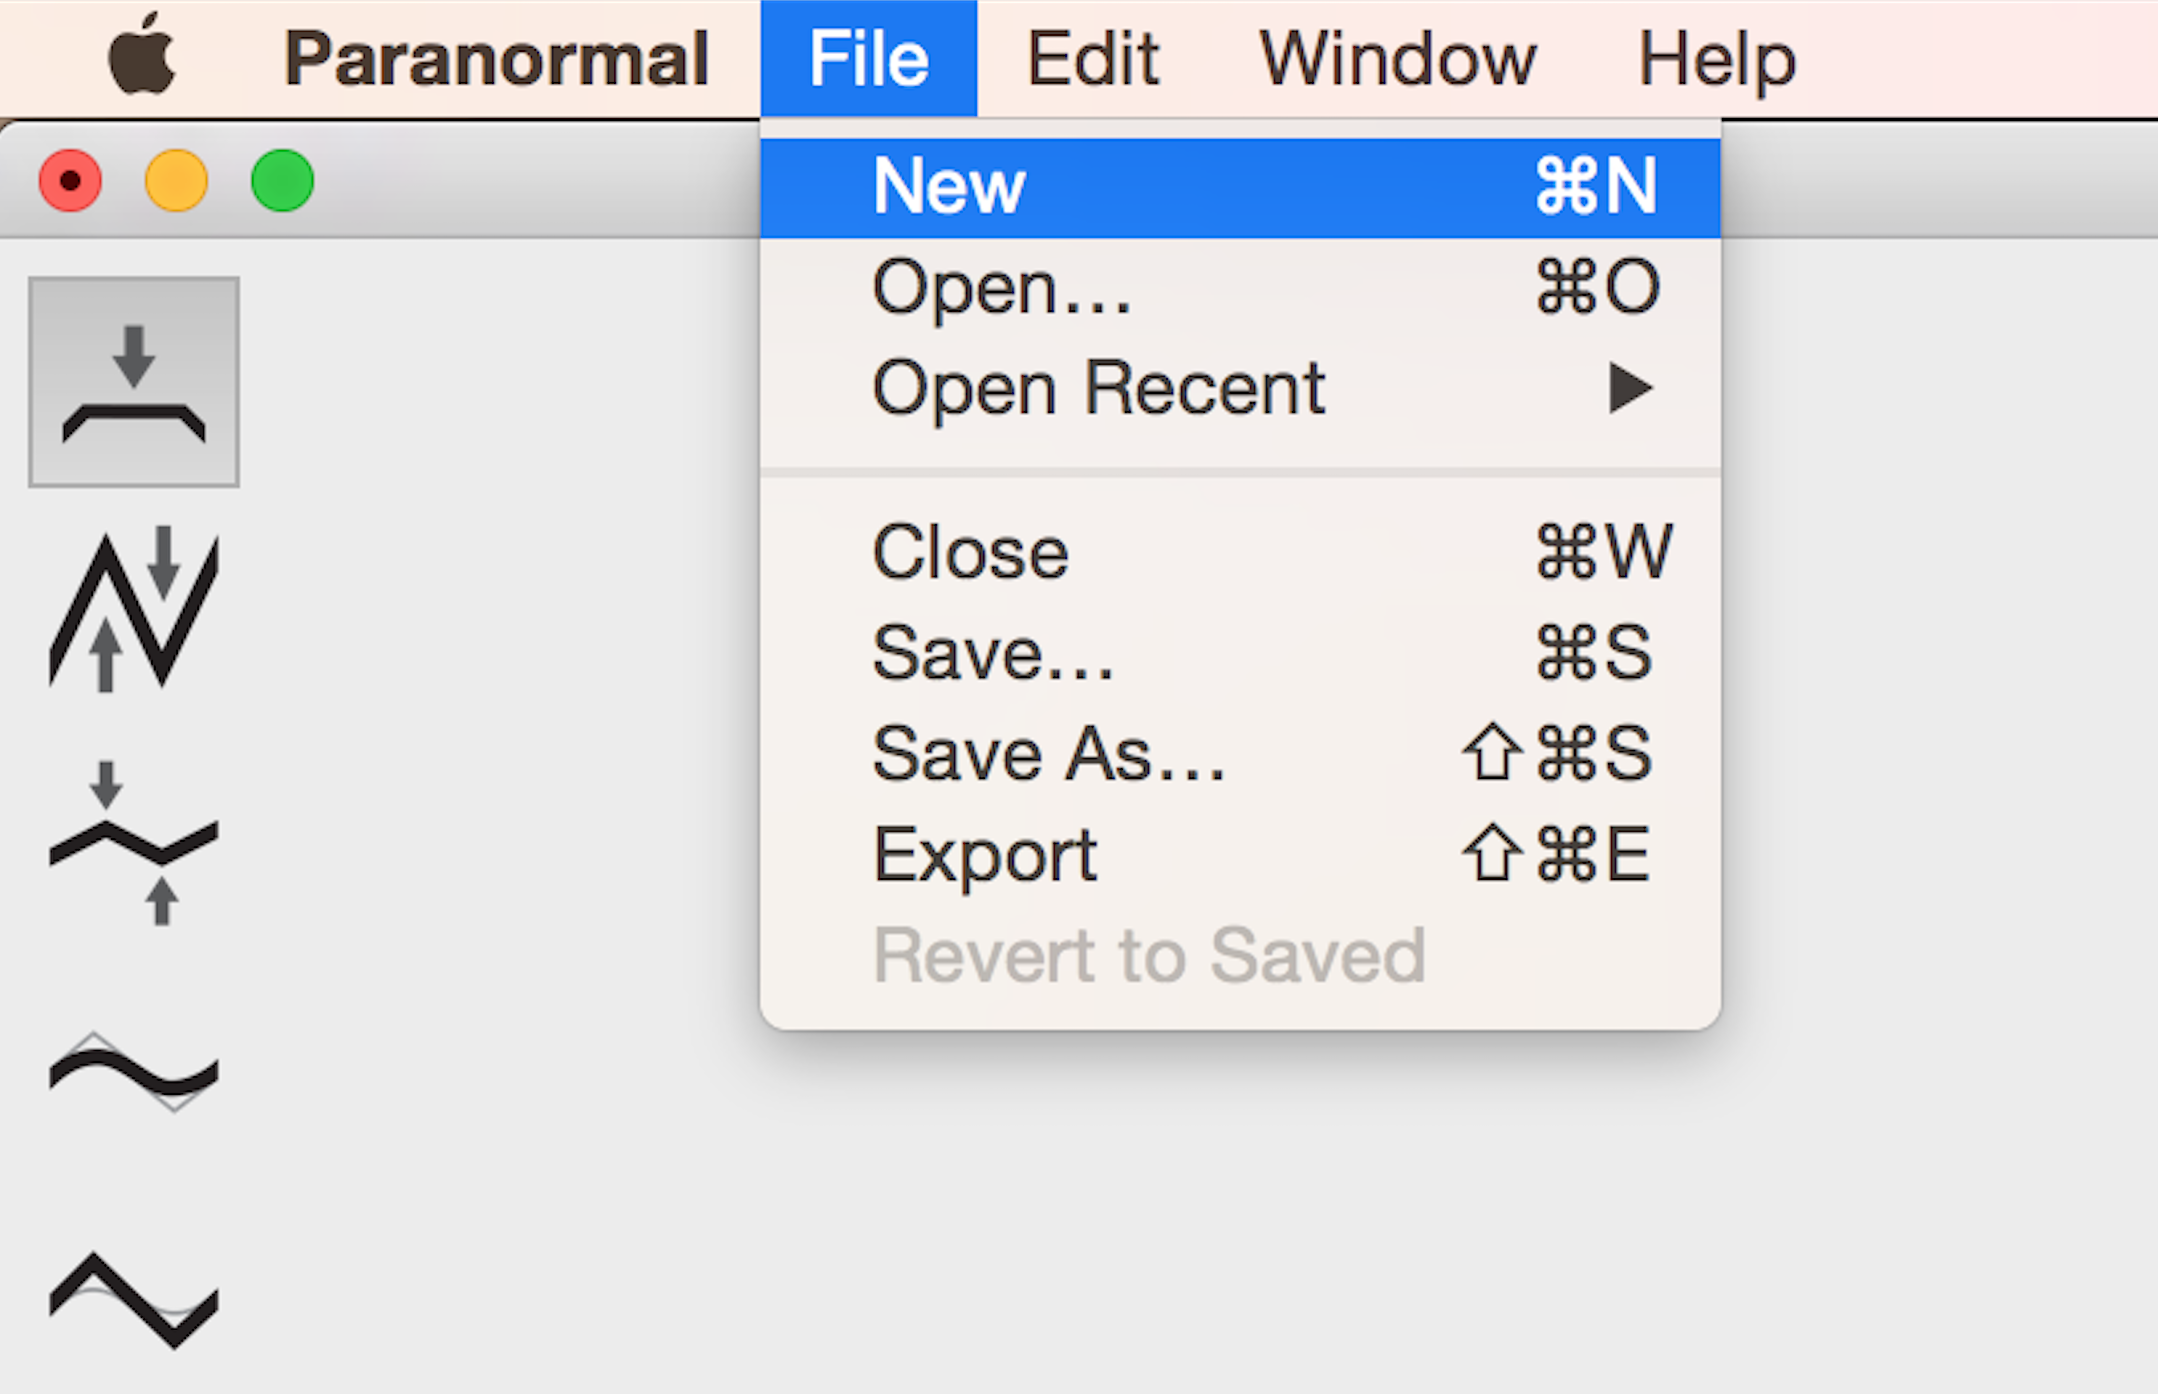
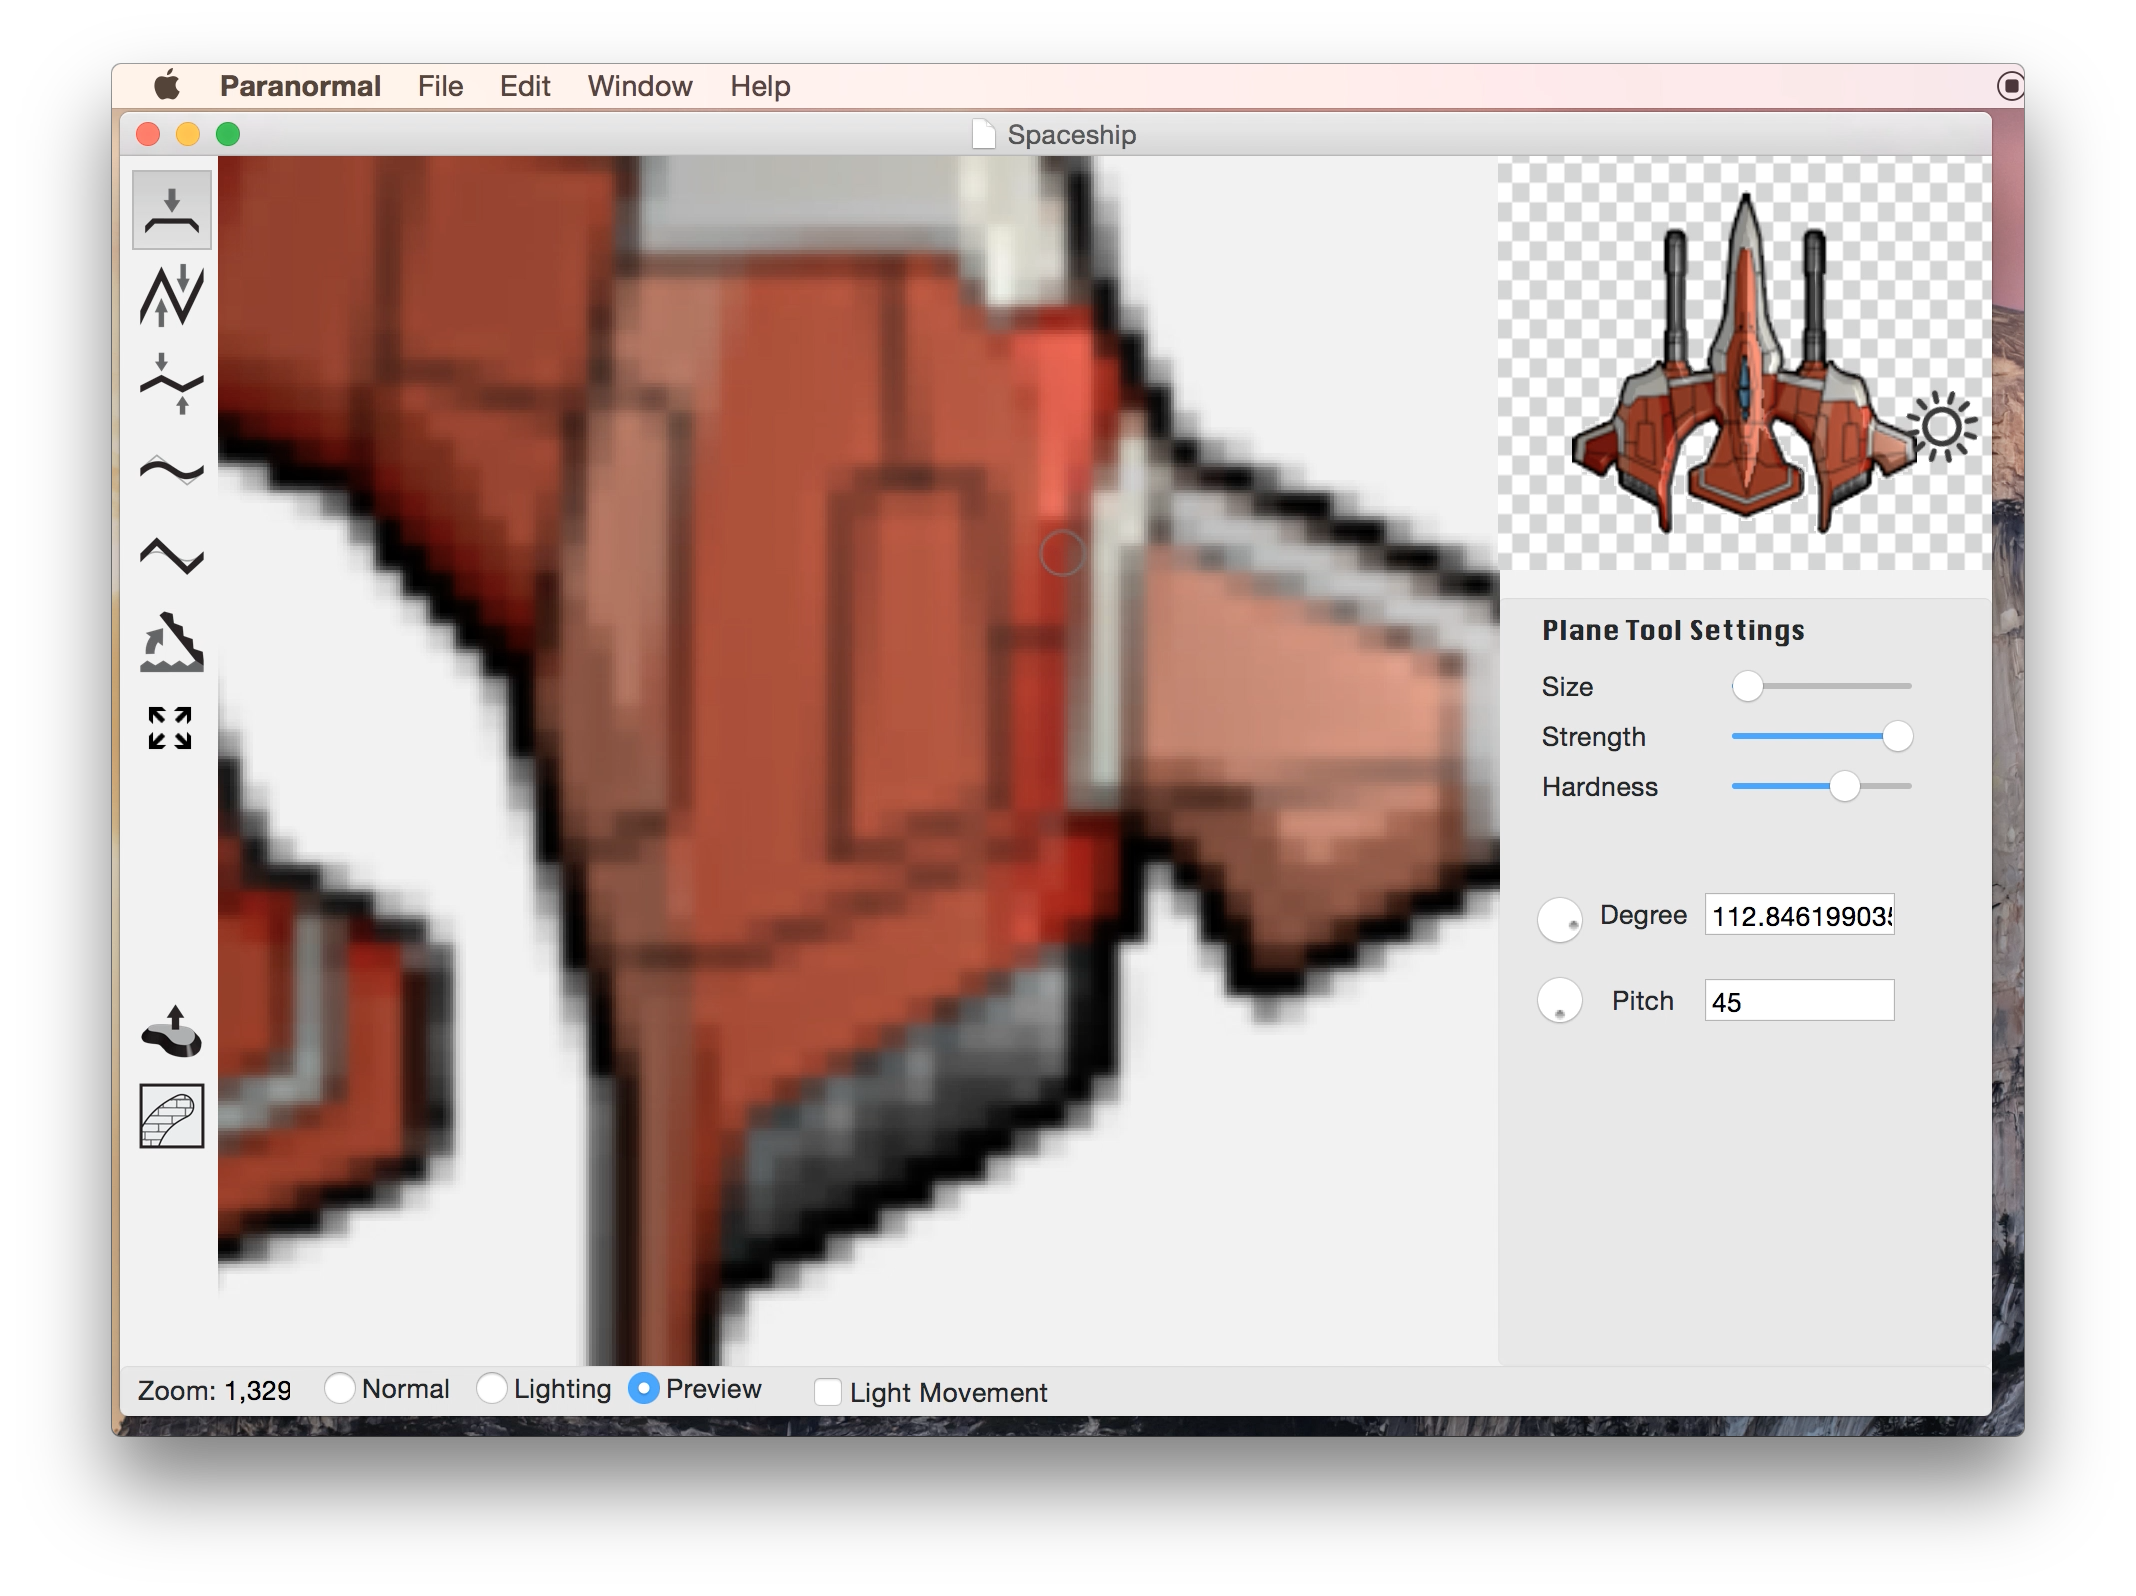
You can toggle back and forth between the normal, lighting, and preview view modes in the editor by using the buttons below the editor, or by using the hotkeys z, x, and c respectively. You can also disable the Light Movement by toggling the checkbox.


Step 2: Chamfer to Get Basic Shape

  • Select the Chamfer Operation 
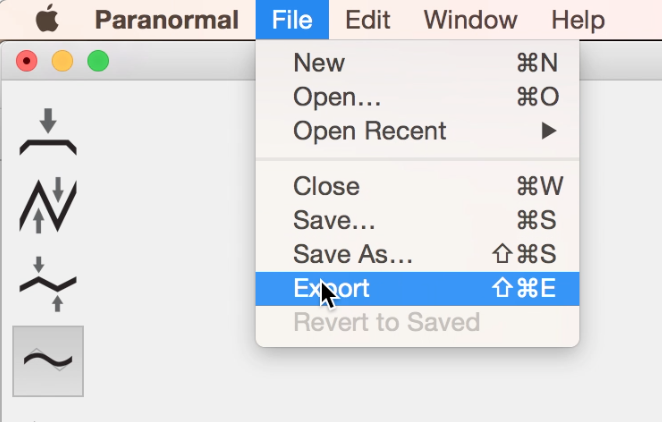
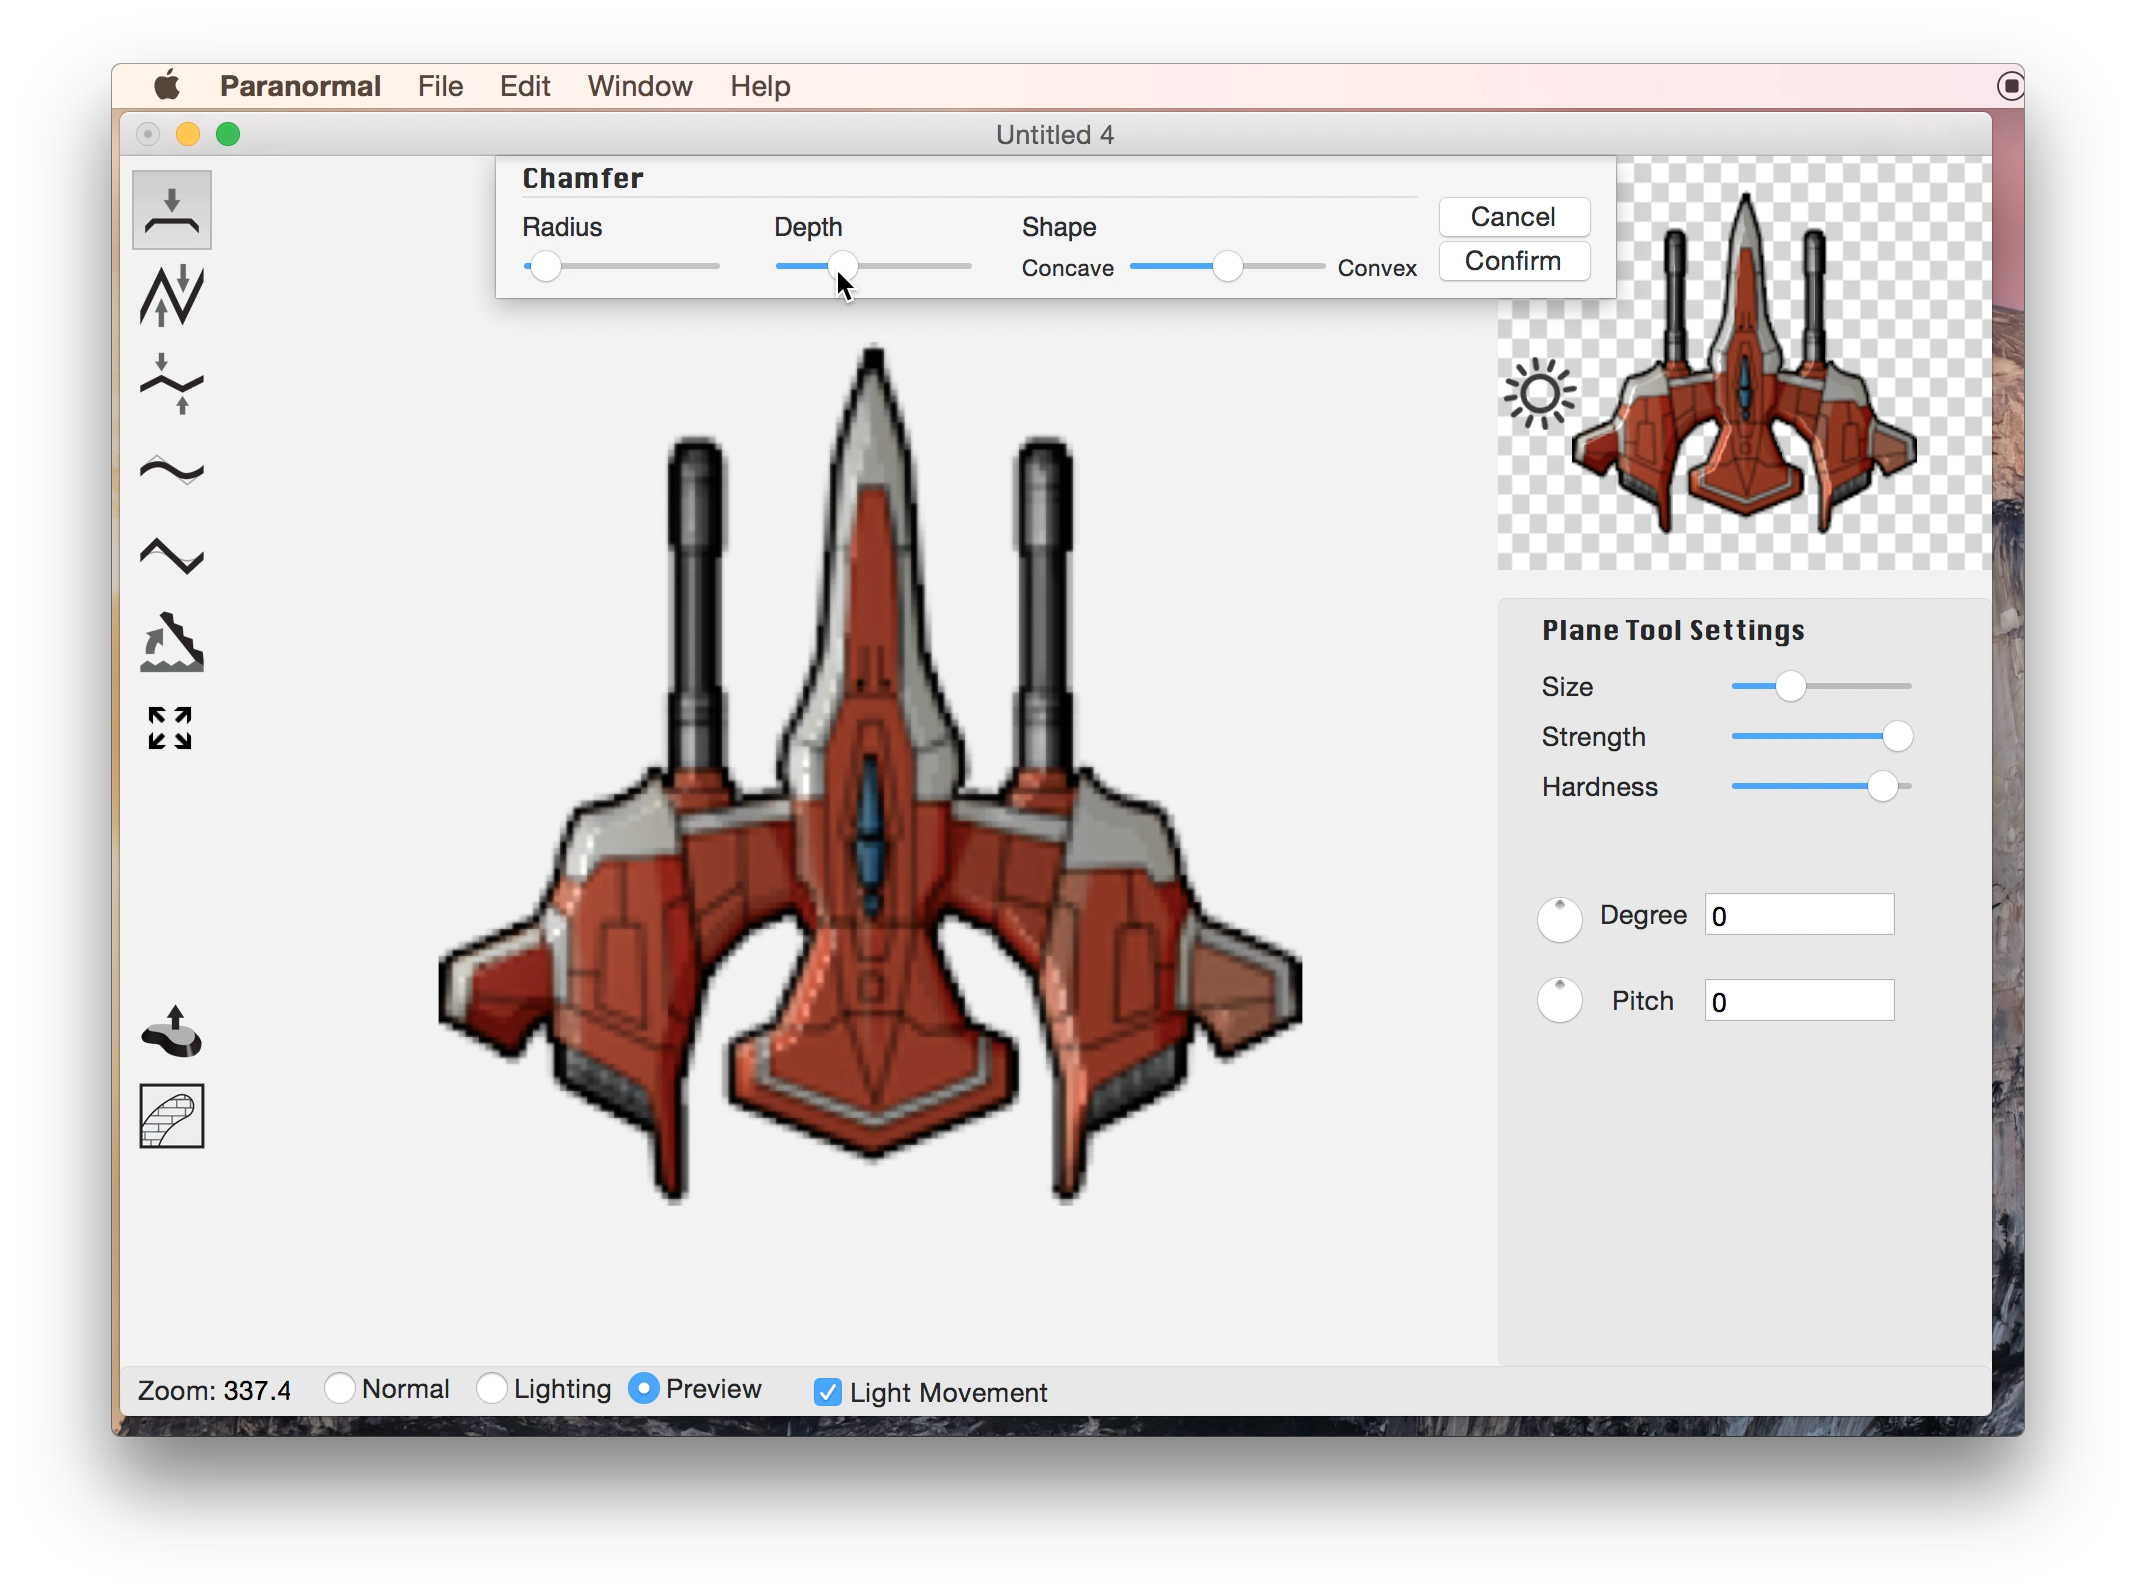
from the Tools menu. This will create a hard edge, as if the corners were chopped off of the base sprite.
  • A chamfer dialogue will appear. We can adjust the radius, depth, and shape of the chamfer then confirms when it generally matches up with the base sprite.
  • Hit confirm to apply your change.
  • Save your progress with ⌘S.

Step 3: Flatten a Few Panels

  • The chamfer tool didn’t do a perfect job for the ship. Some panels are not facing the right direction. To start out, select the Flatten Tool .
  • Adjust the tool settings.
  • I'd like the tail of the spaceship to be flat, so I use the flatten tool on this area.

Step 4: Use the Plane Tool to Add Detail

  • Select the Plane Tool .
  • To change the direction that some of the other panels are facing, we will choose an angle in terms of pitch and direction. For more information on choosing vectors, check out the direction picker HERE.
  • Based on the sprites drawn in lighting, I decide that the lighter areas on the wings should be facing to the left at a 45 degree pitch and the darker red areas facing to the right at a 45 degree pitch.
  • Select these angle using the direction picker in the Plane Tool Settings Pane. Draw the angles onto the corresponding panels.
  • I also decide that the region from the nose of the spacecraft to the end of the cockpit should also be angled away. Pro-tip: You can outline the parts that need to be filled in with the preview mode and switch over to the normal mode to more clearly see the edits being made.

Step 5: Smooth out Unwanted Edges

  • Select the Smooth Tool .
  • Smooth out the edges of your edits.
  • I change the strength of the smooth brush to make the effect less pronounced.

Step 5: Export your Normal Map

  • When you are satisfied, export the normal map by going to clicking File > Export at the top of the screen or using the shortcut ⇧⌘E.
  • Give it whatever name you want and save.