Editing Existing Normal Maps in Paranormal

This tutorial describes how to make a texture for a cave wall, starting with a normal map generated with Smart Normal Map, a free online normal map generator. Using the tools in paranormal, we can adapt this normal map to look more realistic and compelling in a game. I'll also introduce you to the Emphasize, Tilt, and Flatten tools.

Normal maps can come from a variety of sources: 3D editing tools, automatic generation tools, 3D models "baked" into normal maps, and, of course, Paranormal itself. No matter what the source, Paranormal's tools are well-adapted for fixing and adding features to normal maps by editing them directly.

Autogenerated Normal Map

This normal map generated with Smart Normal Map doesn't capture the overall shape of the rock, but it does a good job getting at the detail of the surface. We will use this as a starting point for today's tutorial.

To follow along with this tutorial, download these two files:


Generated normal map
Preview with generated normal map

Final Normal Map

After a few edits in Paranormal, the final normal map is shaped to more realistic contours of the rock, and reacts to the surrounding lighting effects in a more compelling way.

To compare your results, you can download the normal map that results from this tutorial.


Final normal map
Preview with final normal map

Step 1: Create a new project

  • Start by creating a new document with File > New, or by pressing ⌘N
  • Select the colored sprite as the base image (in our case, rocks.png)
  • Press "Import Normal", and choose an initial normal map for the image (in our case, rocks-autogen.png)

Step 2: Emphasize small features

  • Select the Emphasize Tool from the Tools menu. The emphasize tool exaggerates features already present in a normal map.
  • Adjust the brush settings to match those on the right.
    • Size controls the radius of the tool's effected region, i.e. the size of your cursor.
    • Strength on the emphasize tool controls how much more the tool will make features protrude inward and outward. Full strength will make features 10x as prominent, while zero strength will leave features unchanged - for now, we set strength to around 20%.
    • Hardness controls how the strength rolls off to the edge of the brush, giving the tilted area rounded edges. We will set it to around 20% for now.
  • Use the emphasize tool to draw on top of the cracks, protrusions, or any other features you wish to make more prominent.
Normal Map after using Emphasize Tool
Preview after using Emphasize Tool

Step 3: Tilt the large rock face

  • Select the Tilt Tool from the Tools menu. The tilt tool modifies the normal map by tilting the existing normal map in a specified direction.
  • Adjust the brush settings to match those on the right.
    • Strength on the tilt tool controls how steep the surface will tilt in the specified direction. For now we set it to full strength.
    • Direction controls which direction the tilt effect will tilt the normal map in. We set it to 210º, which will tilt toward the lower left corner of the image
    • Pitch controls the angle that the tilt effect will tilt the brush in. We set it to about 20º
  • Use the tilt tool to tilt a large area on the face of the rock towards the bottom left corner of the screen.
Normal Map after using Tilt Tool
Preview after using Tilt Tool

Step 4: Tilt the rock's back edge

  • Adjust the Tilt Tool's settings to match those on the right.
  • Use the tilt tool to tilt a thin area on the upper right edge of the rock so that it points more steeply towards the top right corner of the screen.
Normal Map after Step 4
Preview after Step 4

Step 5: Flatten the rock's top edge

  • Select the Flatten Tool from the Tools menu. The flatten tool makes the features on a normal map less extreme, closer to a flat surface
  • Adjust the brush settings to match those on the right.
    • Strength on the flatten tool controls how flattened the final surface will be. Flattening at full strength will make features 10% as prominent, while zero strength will leave features unchanged - for now, we set strength to around 30%.
  • Use the flatten tool to flatten an area on the face of the rock, to make the transition between the two tilted regions less extreme.
Normal Map after using Flatten Tool
Preview after using Flatten Tool

Step 6: Continue make edits

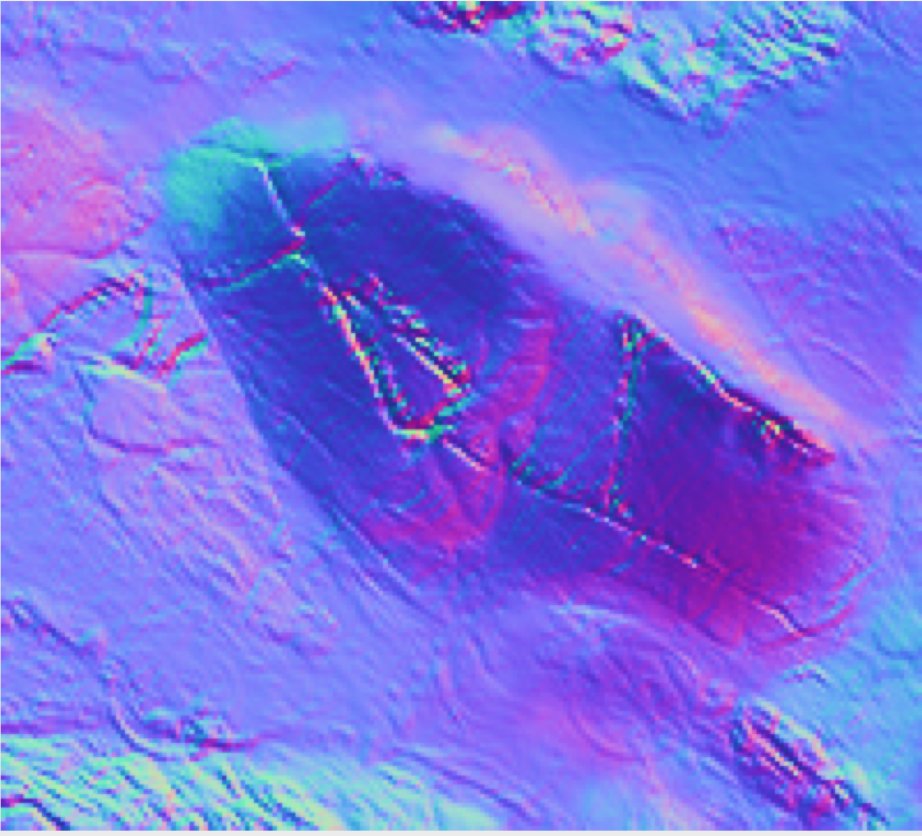
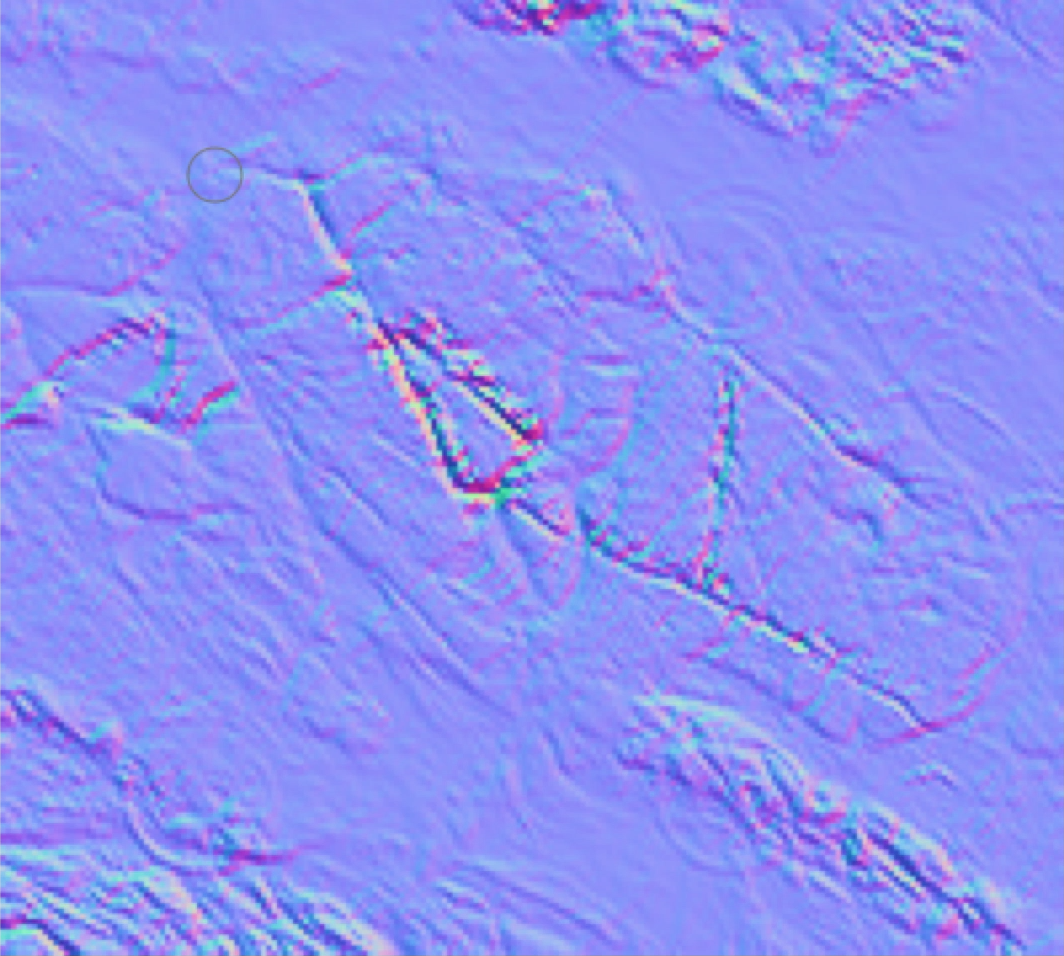
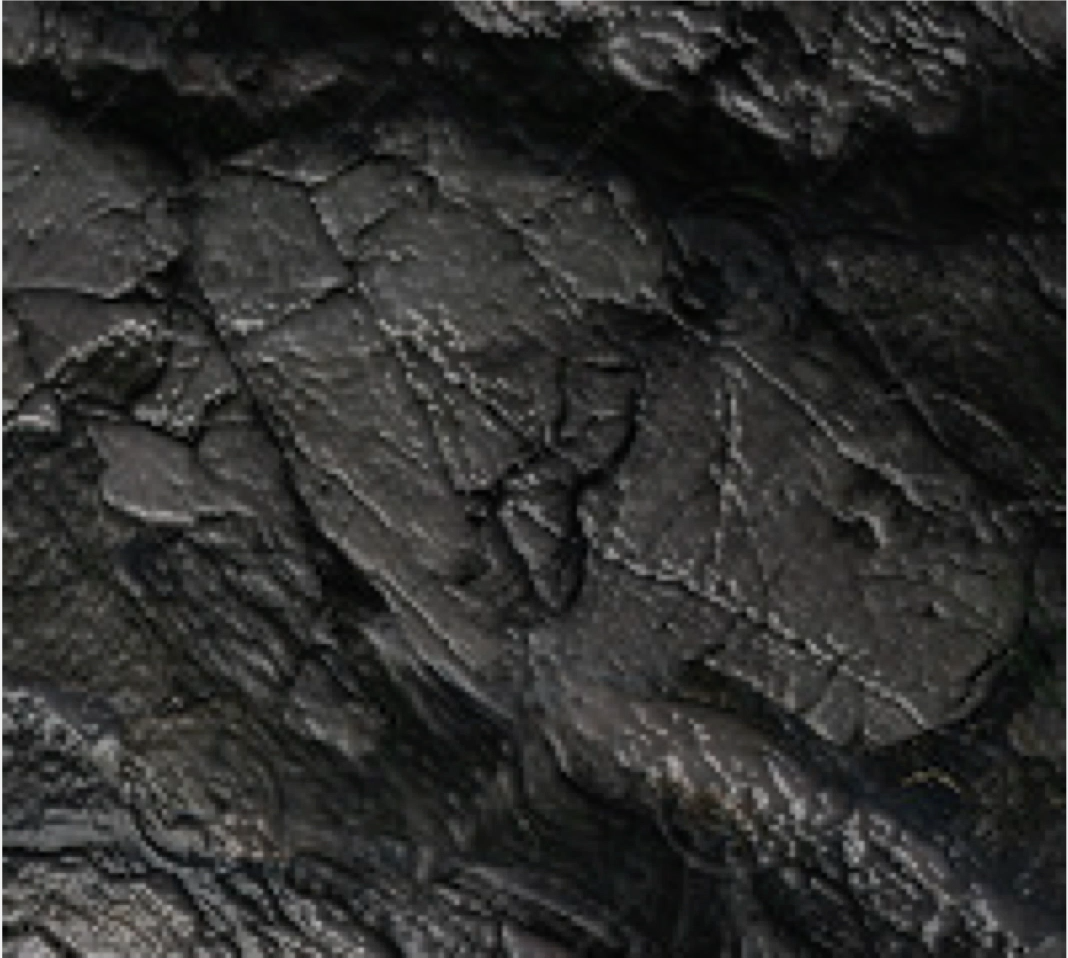
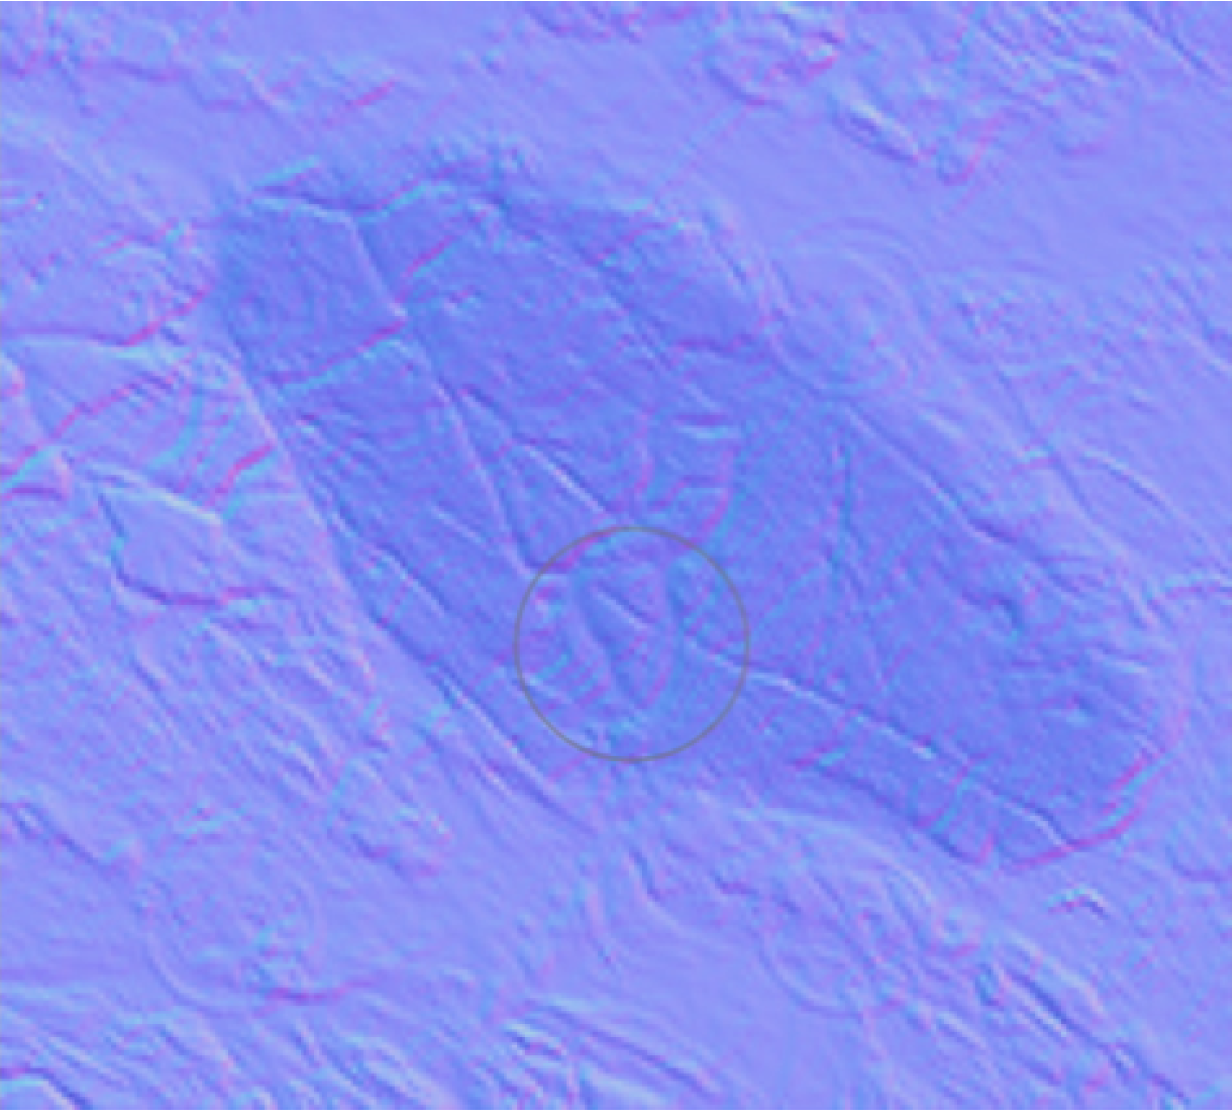
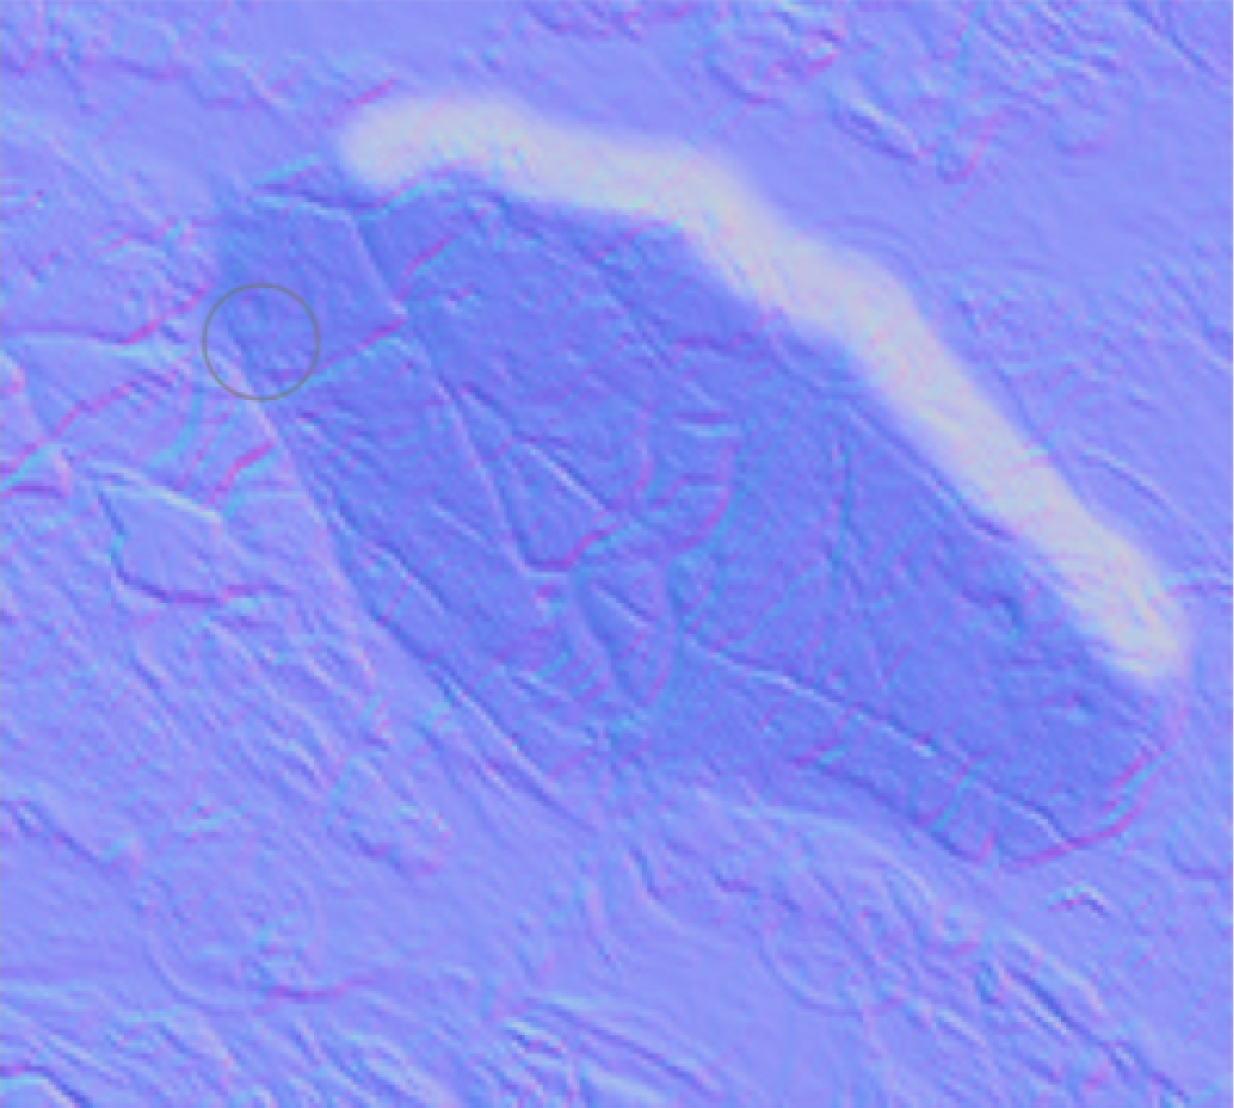
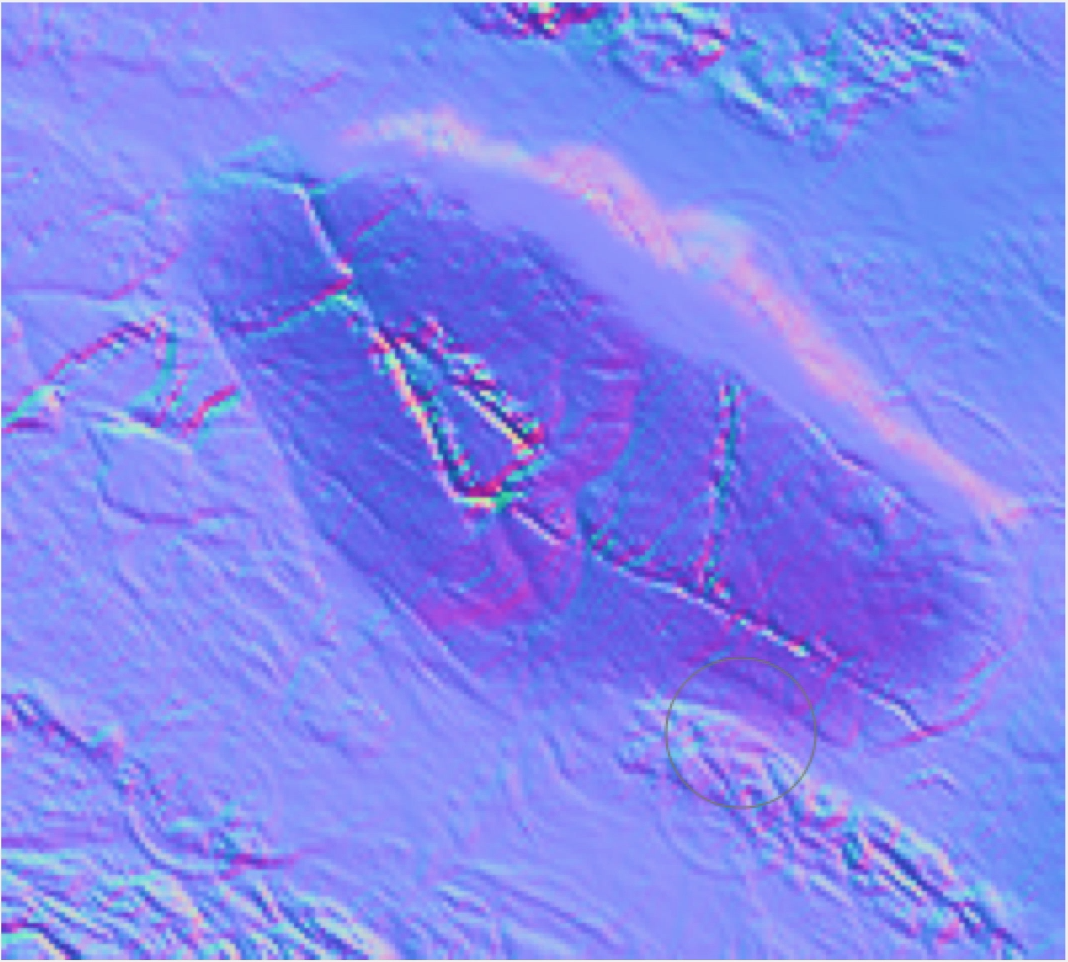
Make similar adjustments to other areas on your normal map using the Tilt, Emphasize, and Flatten tools

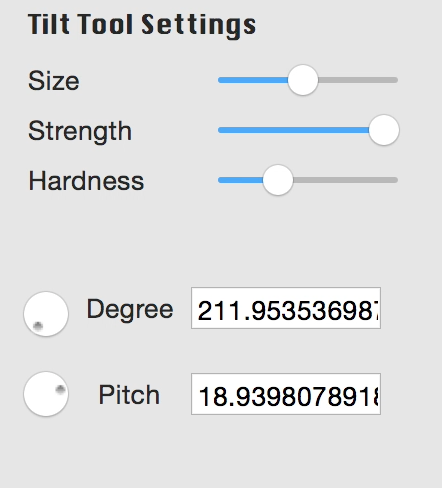
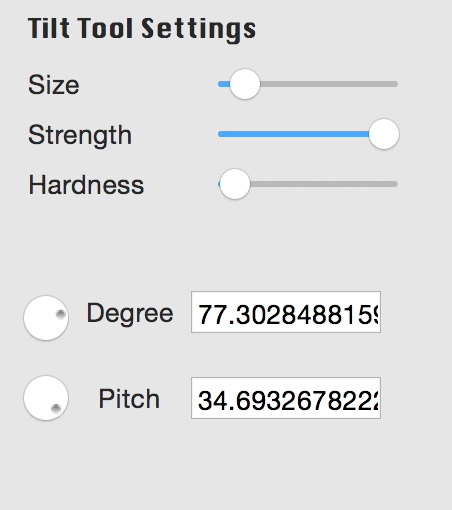
The Tilt tool is highly flexible, allowing you to tilt existing surfaces in arbitrary directions at arbitrary slopes. Using this tool with a low hardness can create nearly any surface you can imagine.

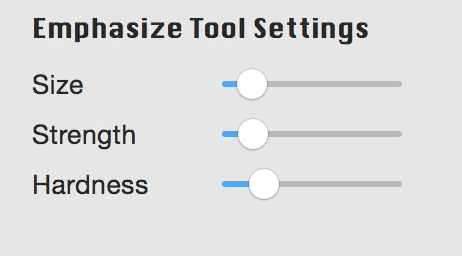
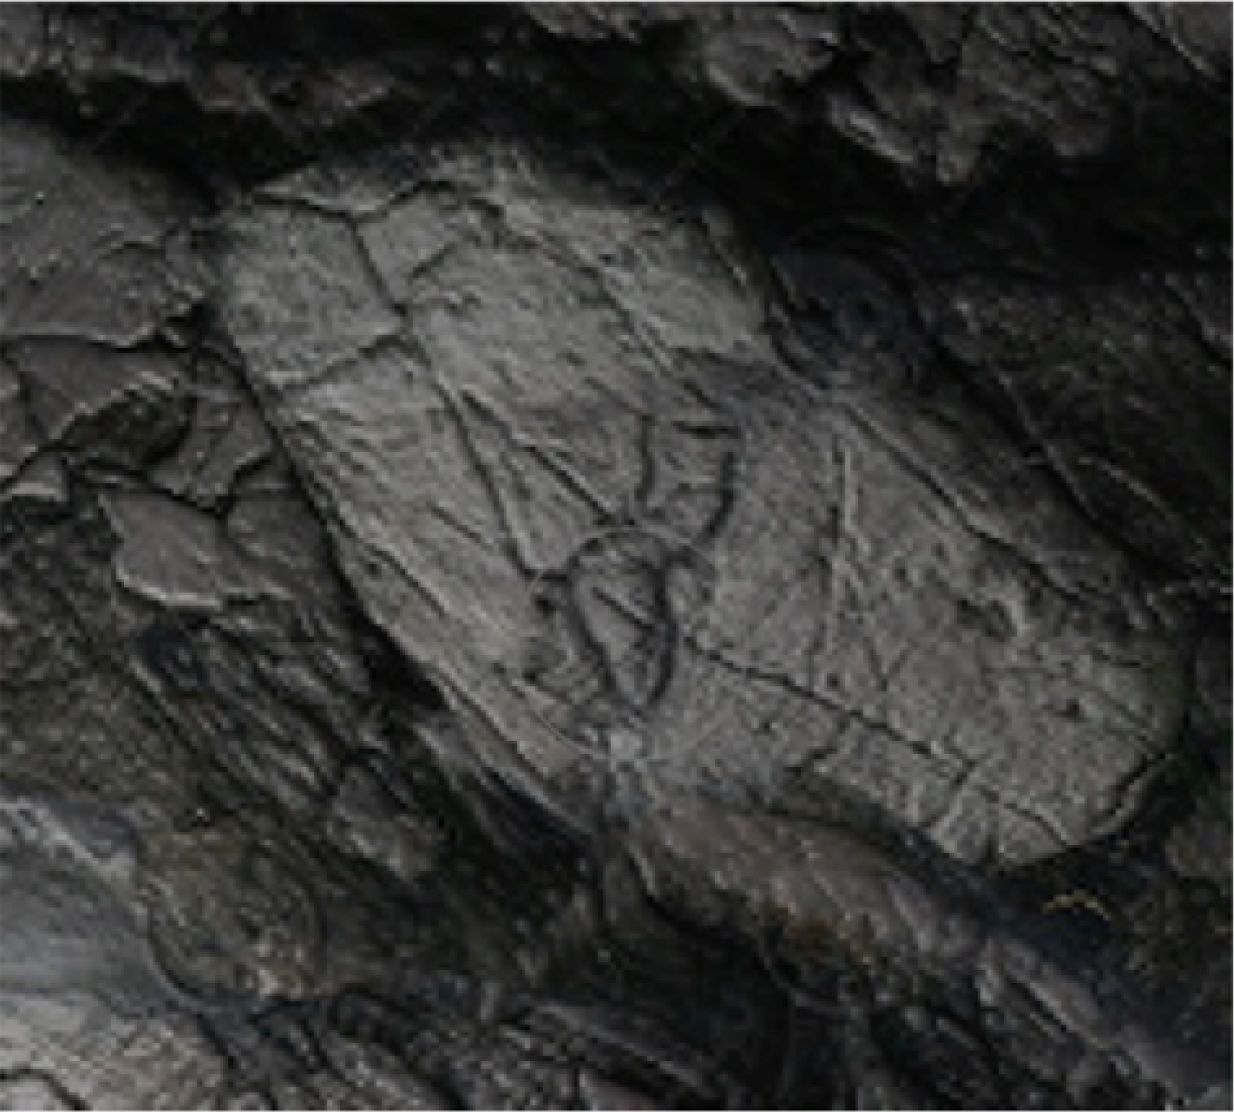
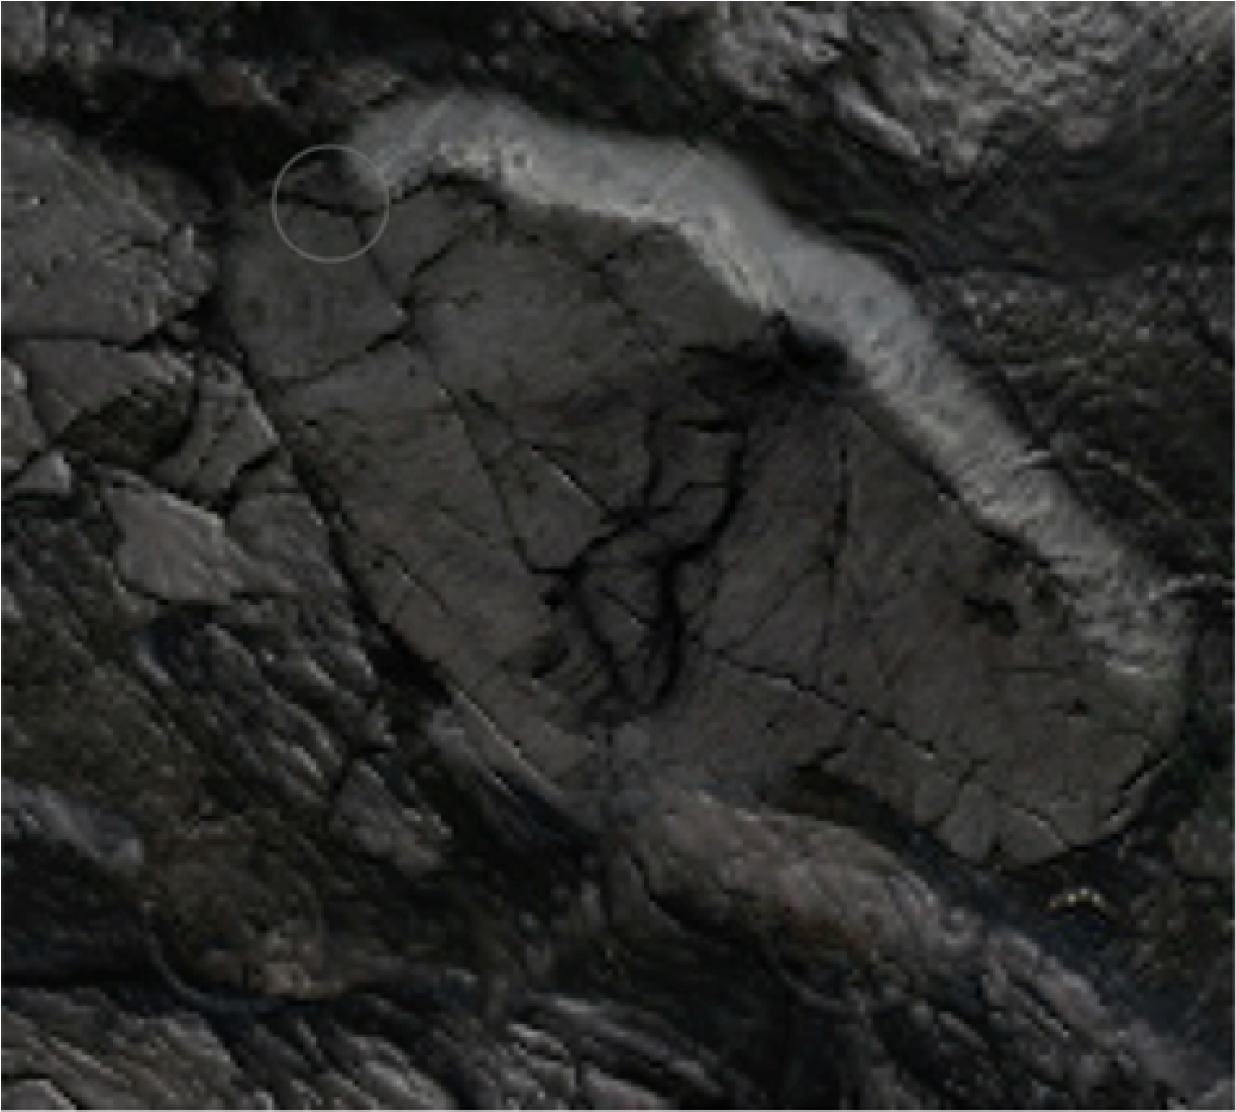
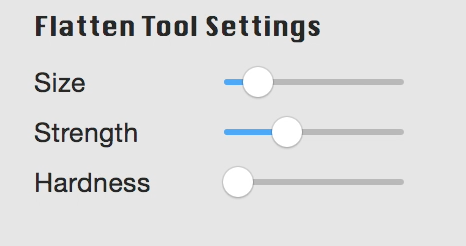
The Emphasize and Flatten tools are extremely useful for highlighting or diminishing the presence of any features that exist in the normal map

These tools can often be all you need to shape a beautiful, professional normal map from an automatically generated texture.

Working normal map in Normal View
Workng normal map in Lighting View
Workng normal map in Preview View
Final normal map in Normal View
Final normal map in Lighting View
Final normal map in Preview View

Be sure to take advantage of the dynamic lighting and preview representations right in the editor as you're editing. Use the Z, X, and C keys to change your proview mode, and press the spacebar to pause and start the light's motion.

Step 7: Export your normal map

  • When finished, press File > Export or use the shortcut ⇧⌘E to save your normal map as a .png file.
  • This file that can be used with any of a wide variety of applications to create unique lighting effects on the surface.